Long Live Our TiVo HD
Originally written but never published on January 7th, 2017.

Back in 2008, we upgraded our living room with an HD TV, HDMI amplifier, and brand new TiVO HD. At the time it was the top of the line unit with a 1TB hard drive. Because I knew I would keep the unit forever, we paid the overpriced one-time fee for the service contract. Now, 10 years later, I was starting to feel like we were on borrowed time. The typical life a hard drive is around 7-8 years and if this one died before I was able to replace it would be a huge amount of work getting it going again. However, if I made that change before it died it would be as simple as cloning the drive and having all of the settings (and the recordings) saved.
I have had this on my list to do for about 6 months now but finally, bit the bullet and just decided to get it done before it was too late. I did some research and figured out that I could replace the old 1TB drive with a 2TB drive and also double my recording capacity.
Not every drive is suitable for use with a TiVo because they have to produce a relatively low amount of heat. I did find one guy who put a much hotter drive in his unit but he also glued heat sinks to the drive to help with the heat. I didn’t want to take it that far.
The drive I went with was Western Digital Blue Drive with a 5400 RPM spindle speed and 64 meg cache. You can find it on Amazon for about $70.
If you’re interested in knowing how it all came together and the steps necessary I’ve outlined it below.
The Process
Remove The TiVo Drive
The following steps assume that you have some comfort opening up a computer and installing or removing drives in general. If you are, this will be easy. If you’re not, you may need to phone a nerd friend and ask for a house call.
Removing the original drive from the TiVo is easy. You will need a Torx T10 bit to remove the six screws from the rear of the TiVo and then slide open the case. Once inside, disconnect the hard drive and remove the four Torx screws holding the drive sled in.
There are no photos of this part of the process because at the time I started this project I wasn’t planning on doing a blog post. I only started taking photos after the old drive was already removed.


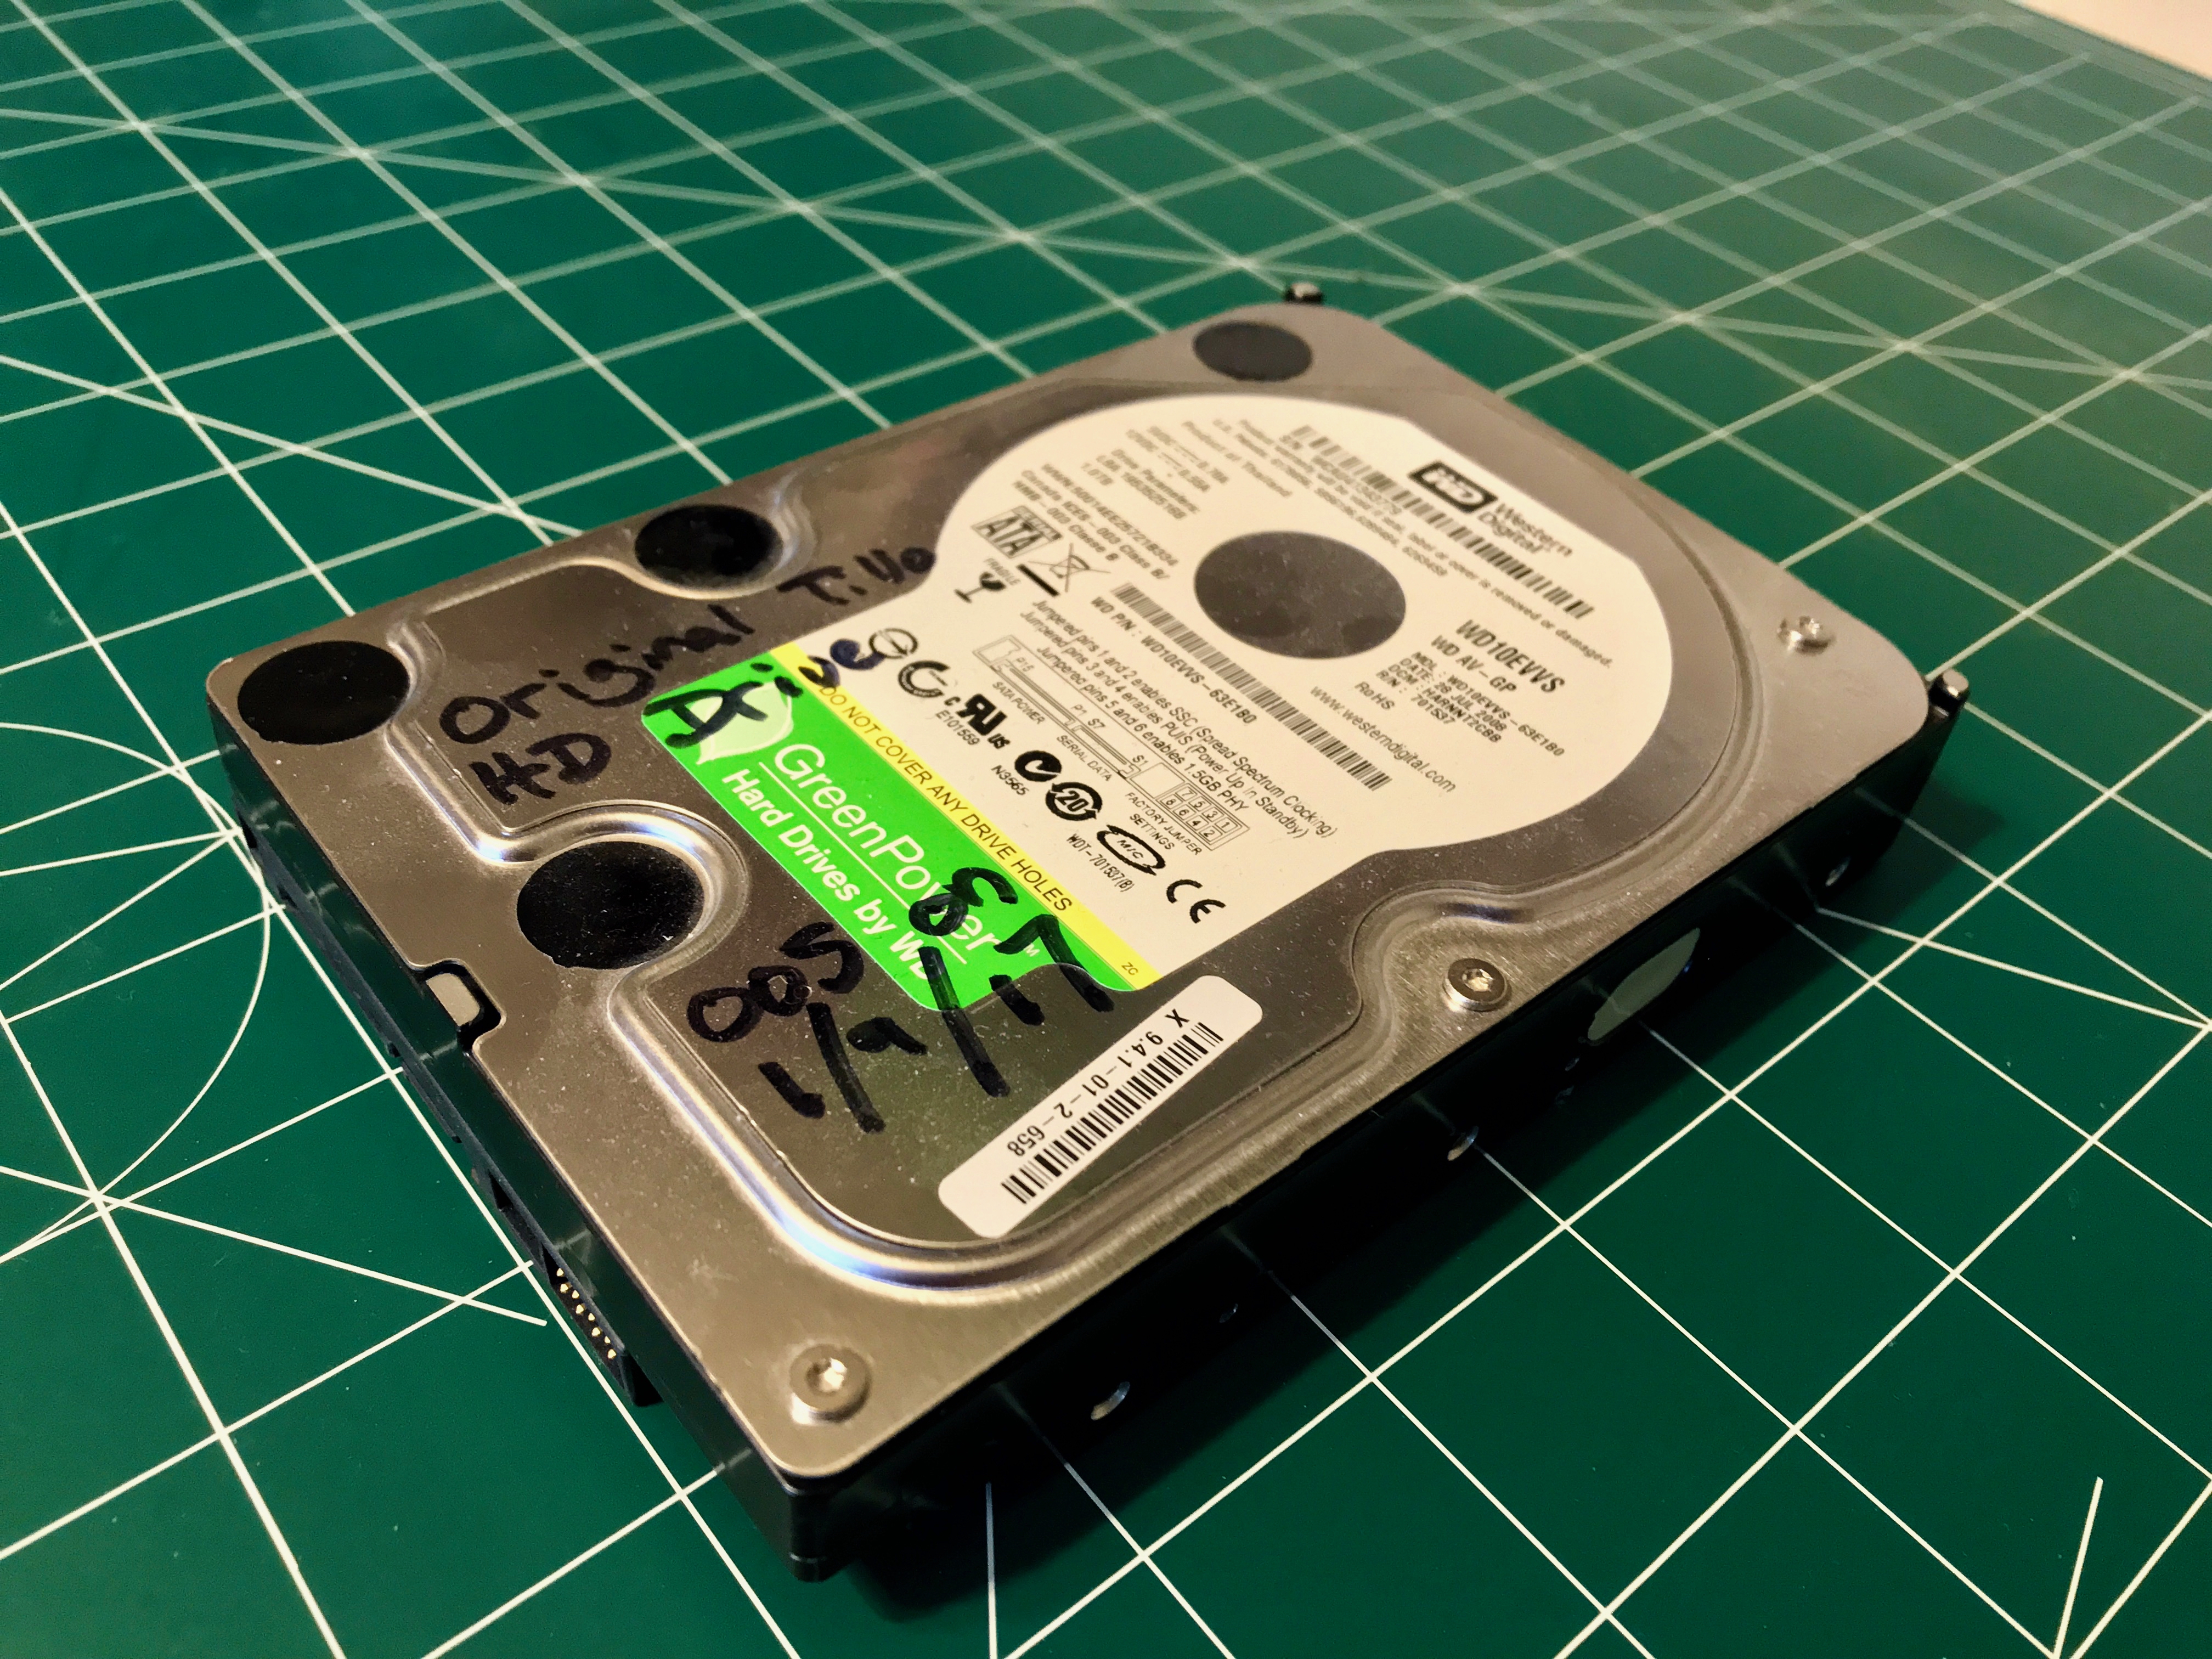
Original TiVo drive, a Western Digital Green Drive.
With the old TiVo drive removed, I opened the case of my PC and plugged both the new and old drives into SATA ports on the motherboard. I didn’t have any unused SATA ports, so I disconnected two of the internal drives I didn’t need for this process and ran the cables and power to the external drives.
Then just boot up your windows machine. There is no need to format the new drive.
Again, because I wasn’t thinking of a blog post at the time there are no photos of this process. however, I found these online and it demonstrates the same process that I’m describing.

Using WinMFS
Download the WinMFS program from here and run it.
The UI is very simple and you won’t be overwhelmed with too many options.
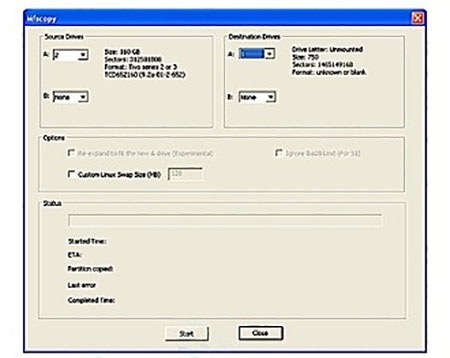
Go to File > Select Drive… and you should see entries for your two attached SATA drives.
In my case, Drive 1 was my new 2TB drive, and Drive 2 was the original 1TB drive.
Highlight your original drive and press the “Select” button.


Just to have a safety net, I decided to first make a backup of my current TiVo drive. This will create a file that contains all of your TiVo information, however, it will not save your recorded shows. What it does save is the information that makes it YOUR Tivo, like your account information, your season passes and activation status.
Use the File > Backup options to make the backup.


Once that’s done, you can clone the old drive to the new drive. This will include everything, including all of your recorded shows.
Use the Tools > Mfscopy option to select the source (old TiVo drive) and destination (new TiVo drive) for the copy.
Then just press the “Start” button and wait.
This process can take some time depending on how large your original TiVo drive was and how many recorded programs were on it. I recommend not doing anything else on your computer while this transfer is happening because of two reasons.
First, the app itself is only single threaded and has issues refreshing if put in the background. Second, its beta software and it’s best not to push your luck.
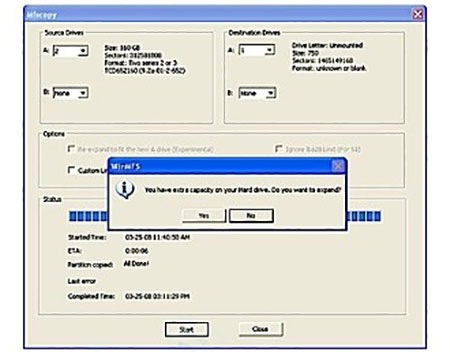
Once the copy operation is done, WinMFS will ask if you want to make use of the added capacity of your new drive. In other words, it has noticed that the new drive is larger than the old drive and wants to know if you would like to use all that new space. Obviously, you do. Click “Yes”.
Install New Drive Into TiVo
At this point, the process is done and you can power down your PC. Disconnect the old and new drives, and install the new drive back into your TiVo.

Whenever I install a new drive into a computer, NAS or in this case the TiVo, I like to write the date it was installed just to help keep track of the drives age next time I open it up.

Heat Sinks
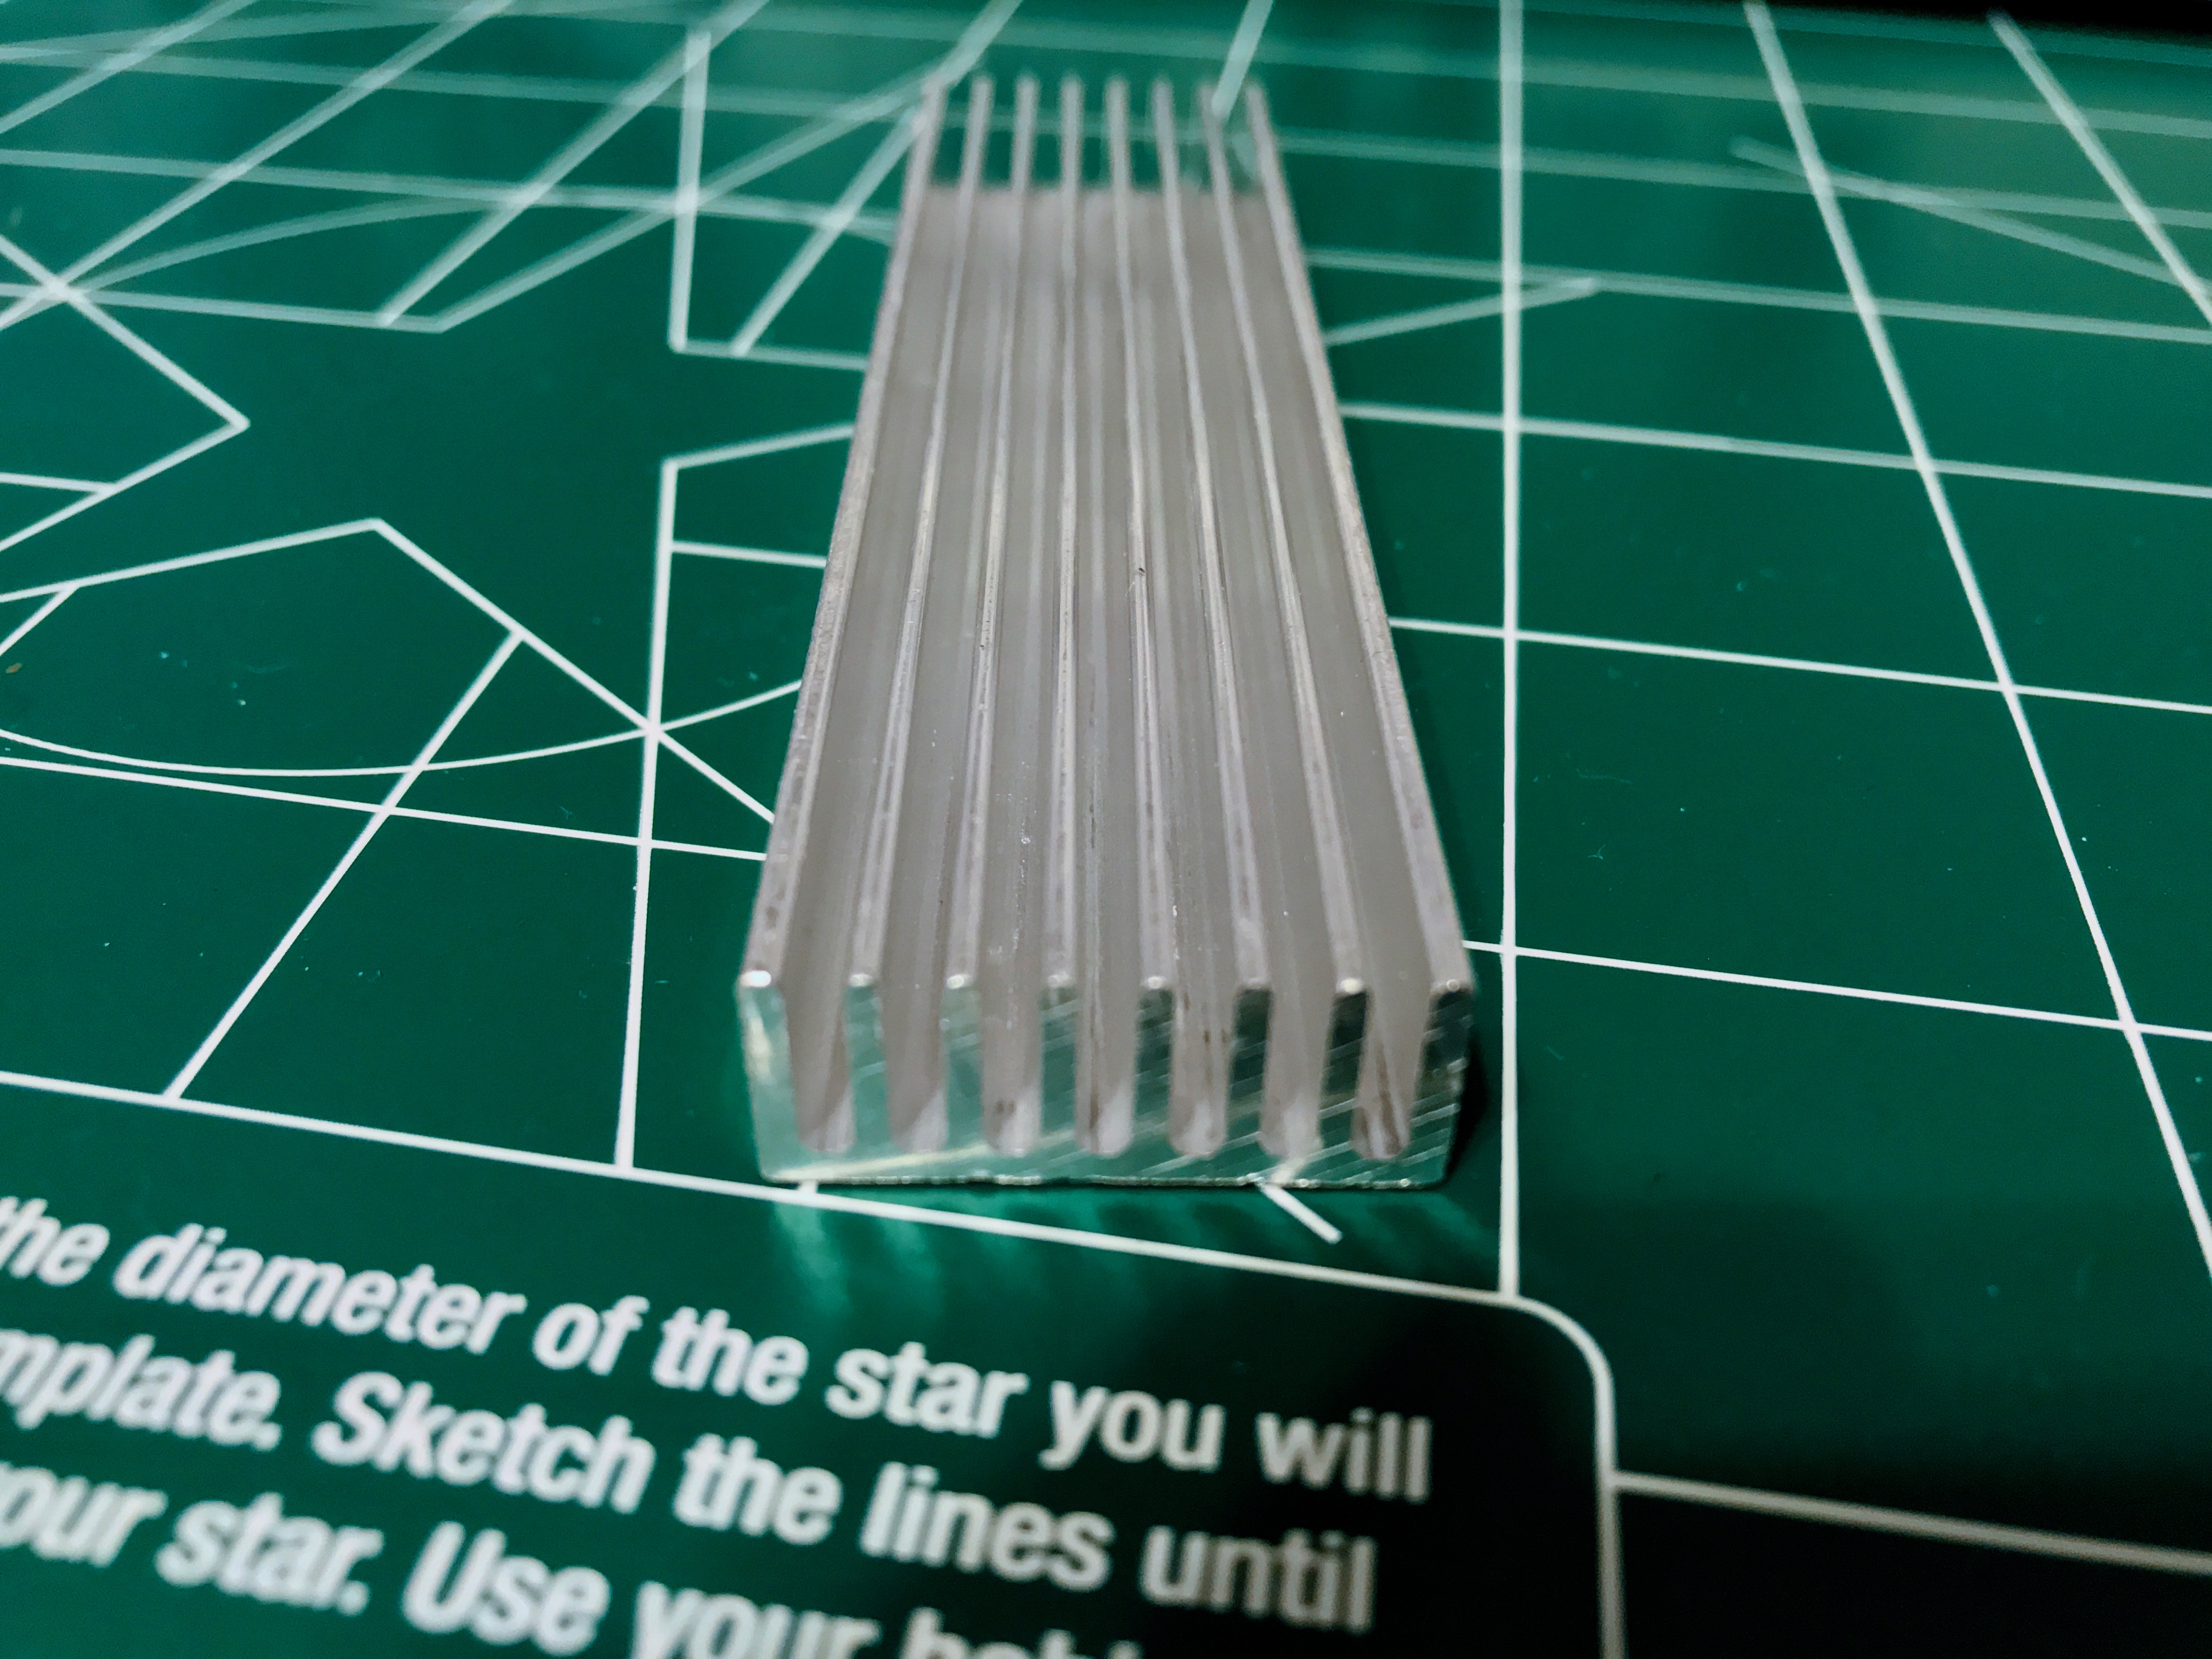
TiVo units are very sensitive to hard drive temperatures. I know this from all of the blog posts I’ve read over the years involving doing drive upgrades. Because of this, and because I knew the new drive would run a bit hotter, I decided to add some heat sinks to the drive. I figured with a couple of heat syncs it would help cover any temperature differences between the new and old drives.


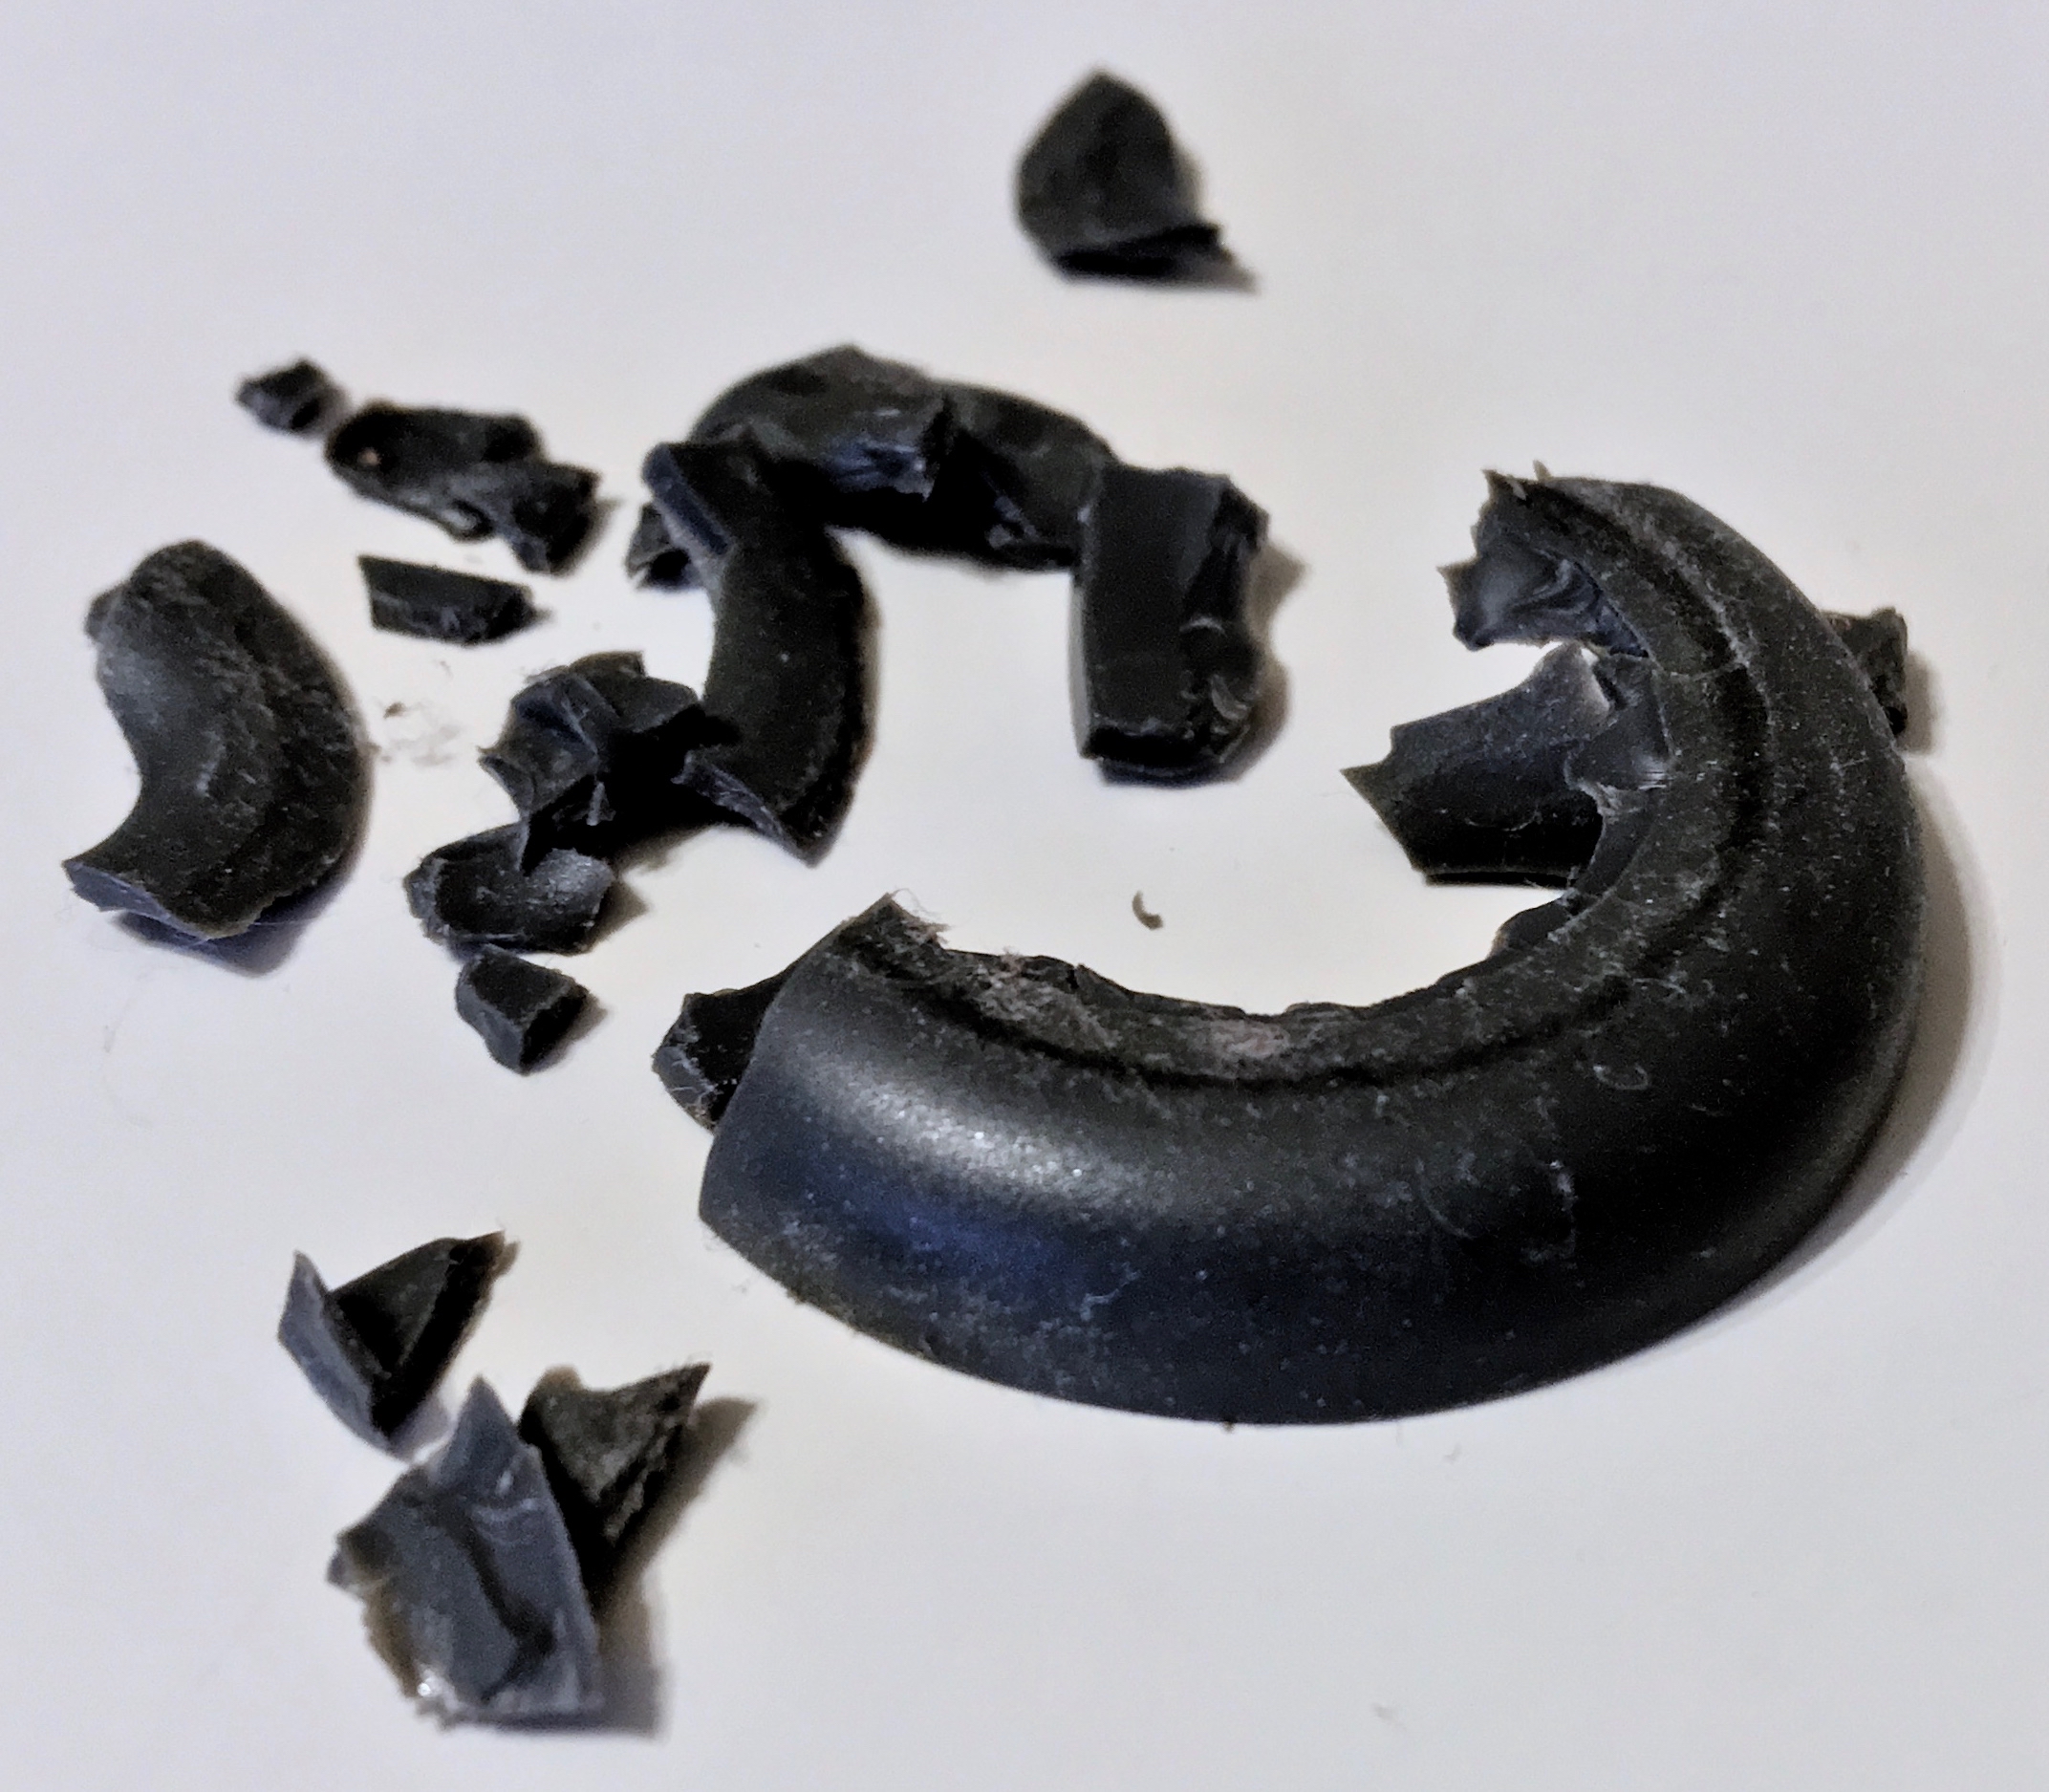
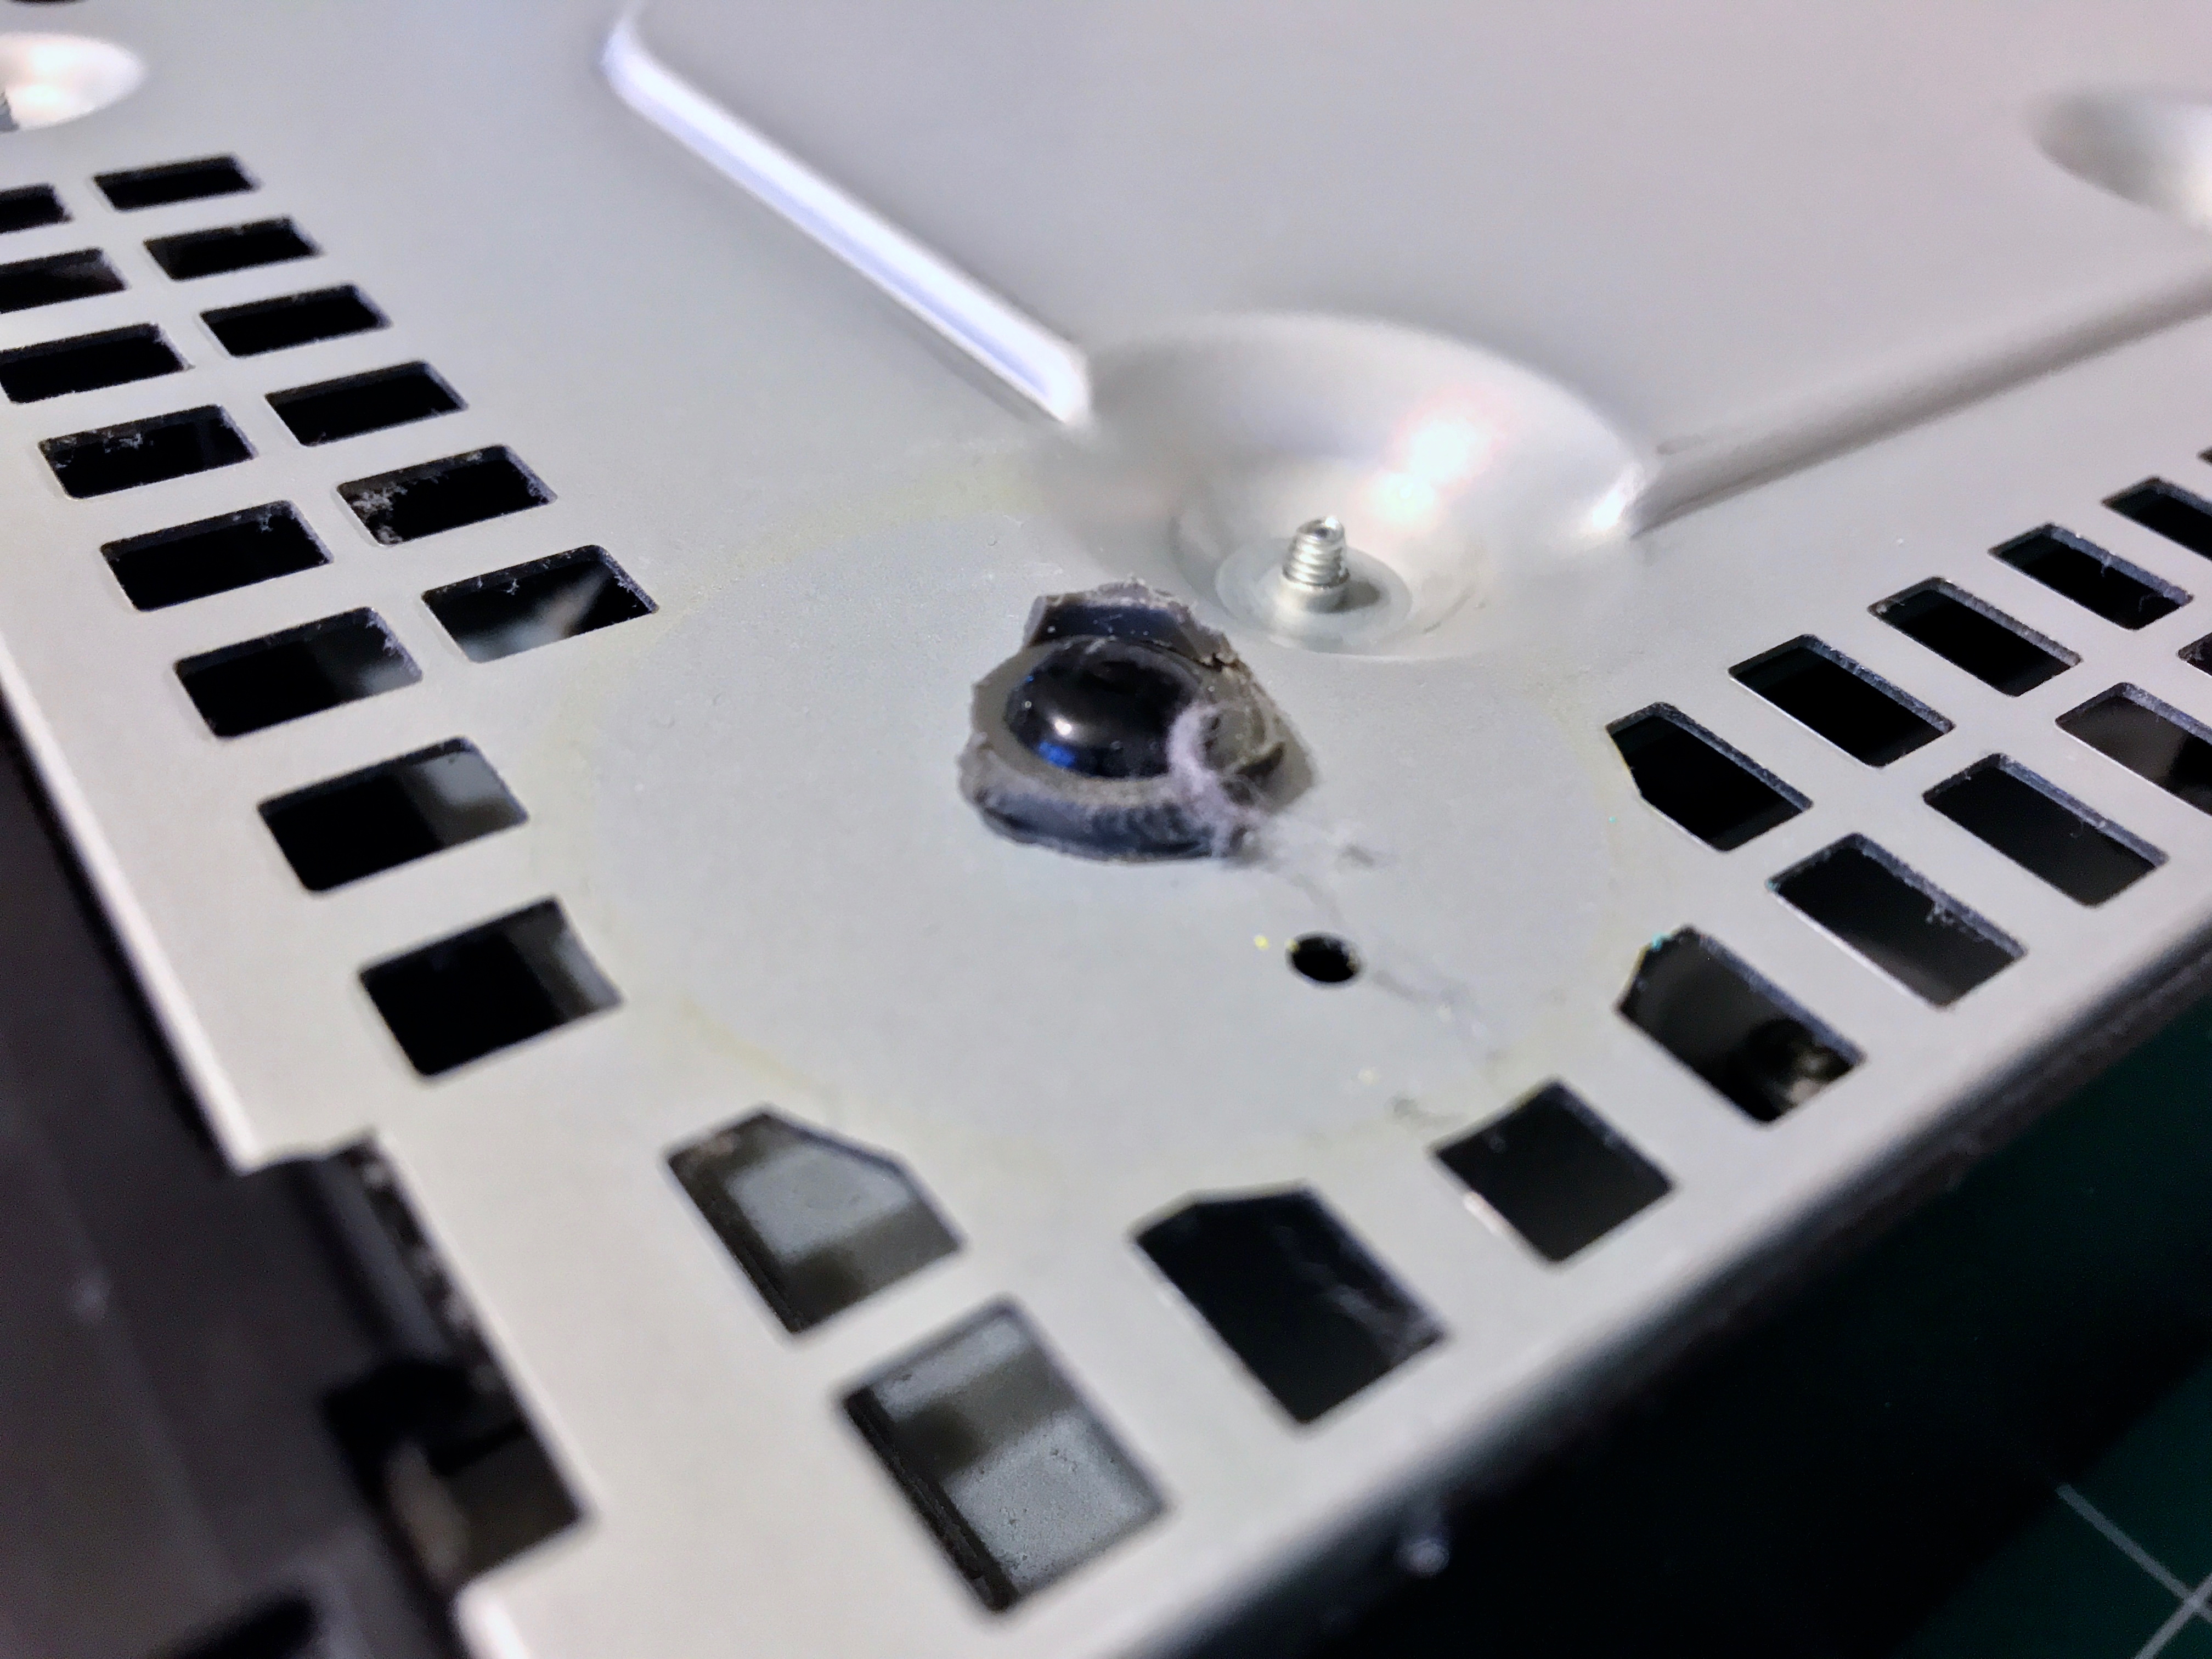
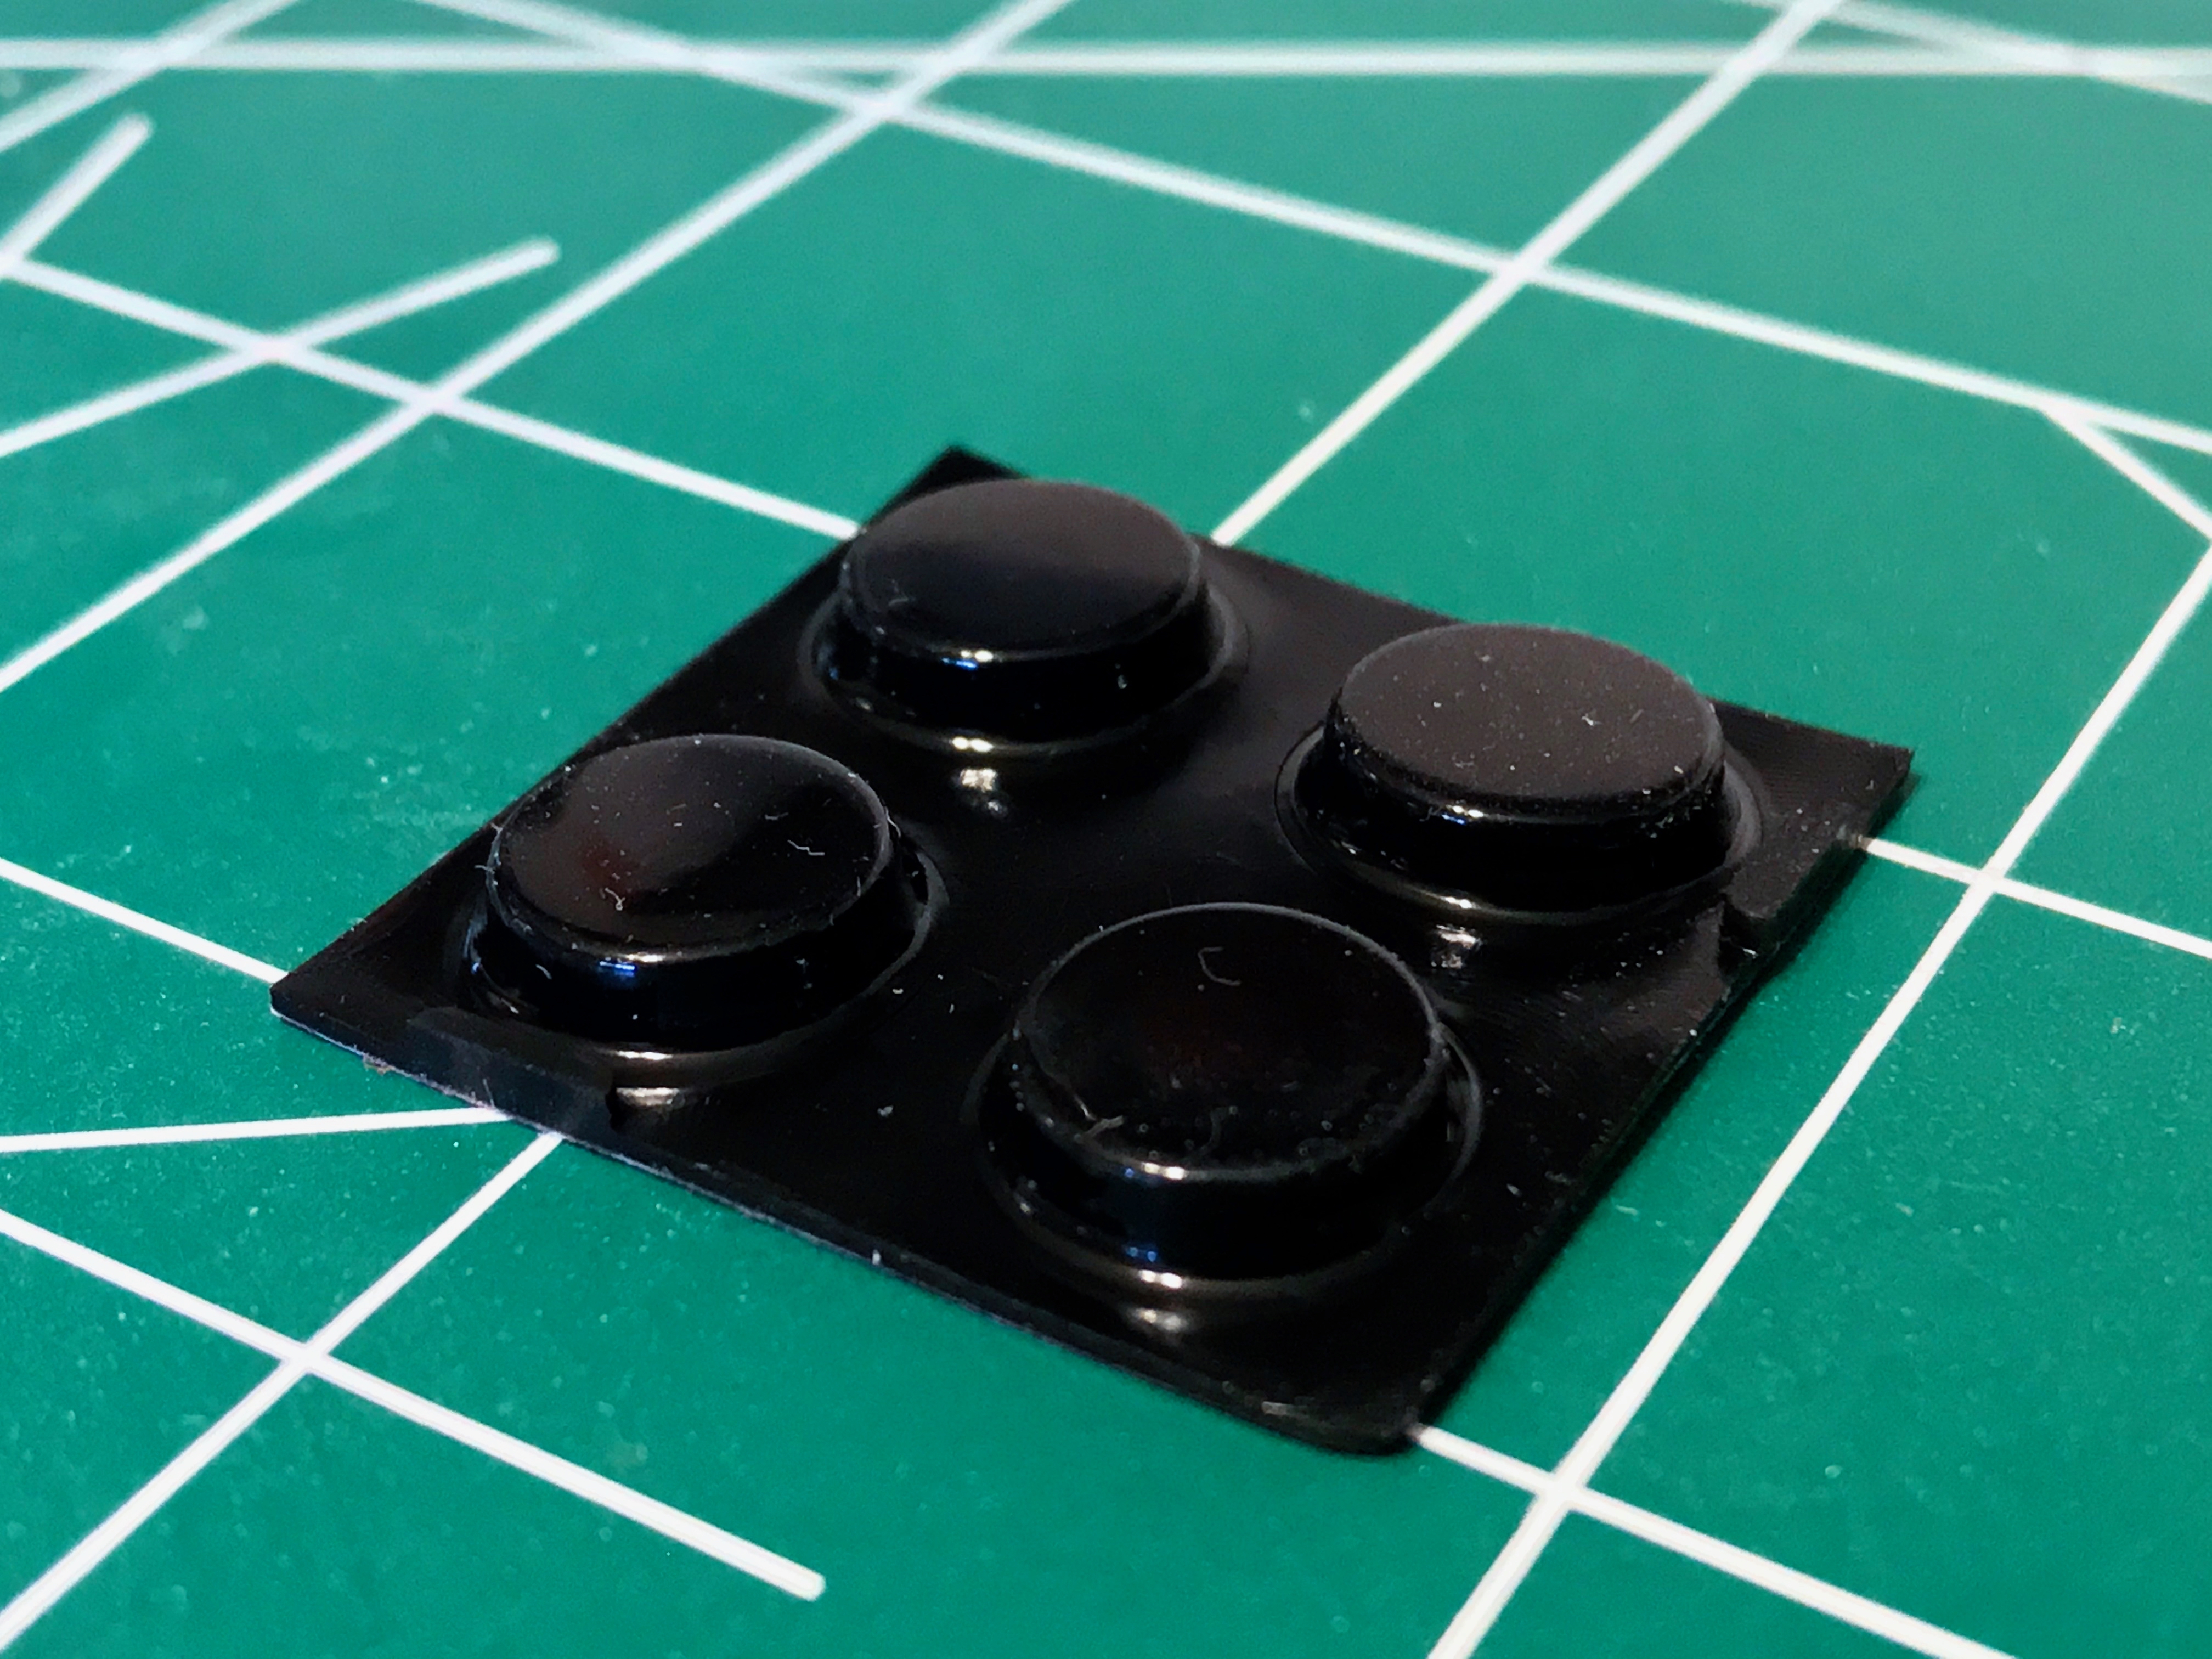
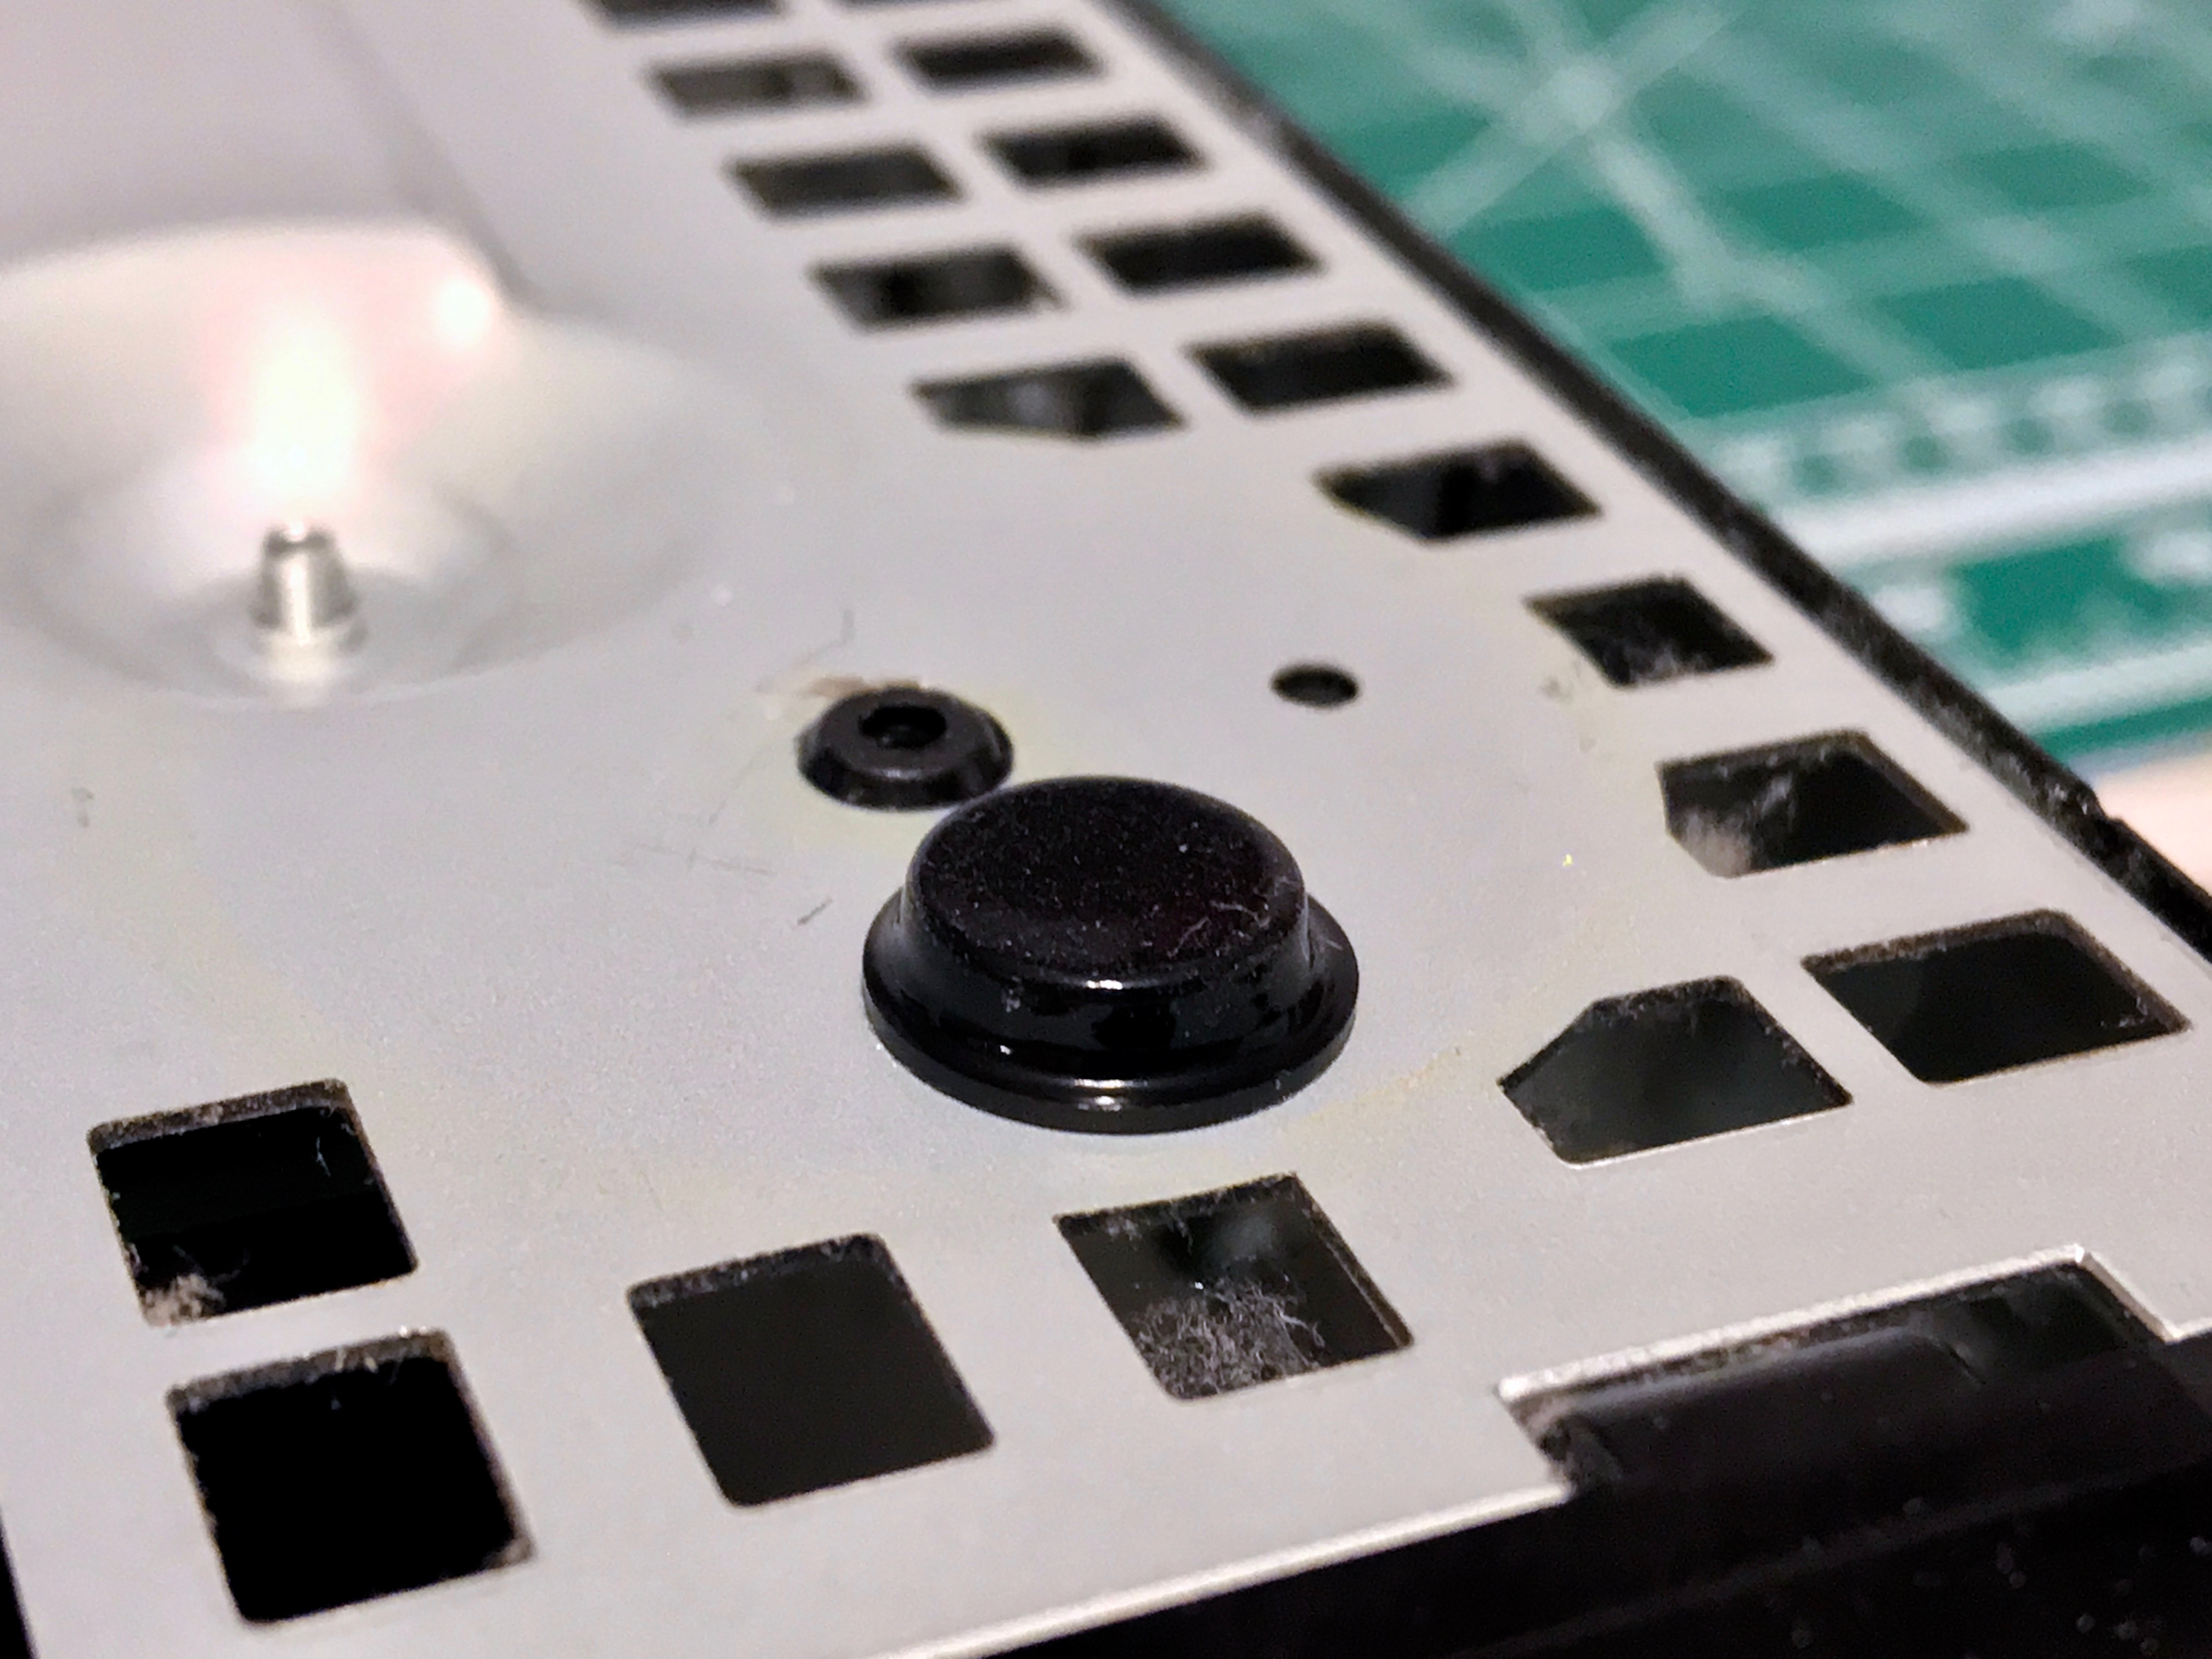
Replace Broken Feet
I noticed that somehow the feet on the bottom of the TiVo disintegrated. That would explain what it has looked so crooked in the cabinet. So I broke off what was remaining of each stub and replaced it with some extra feet I had laying around.
Old broken feet…
New Feet
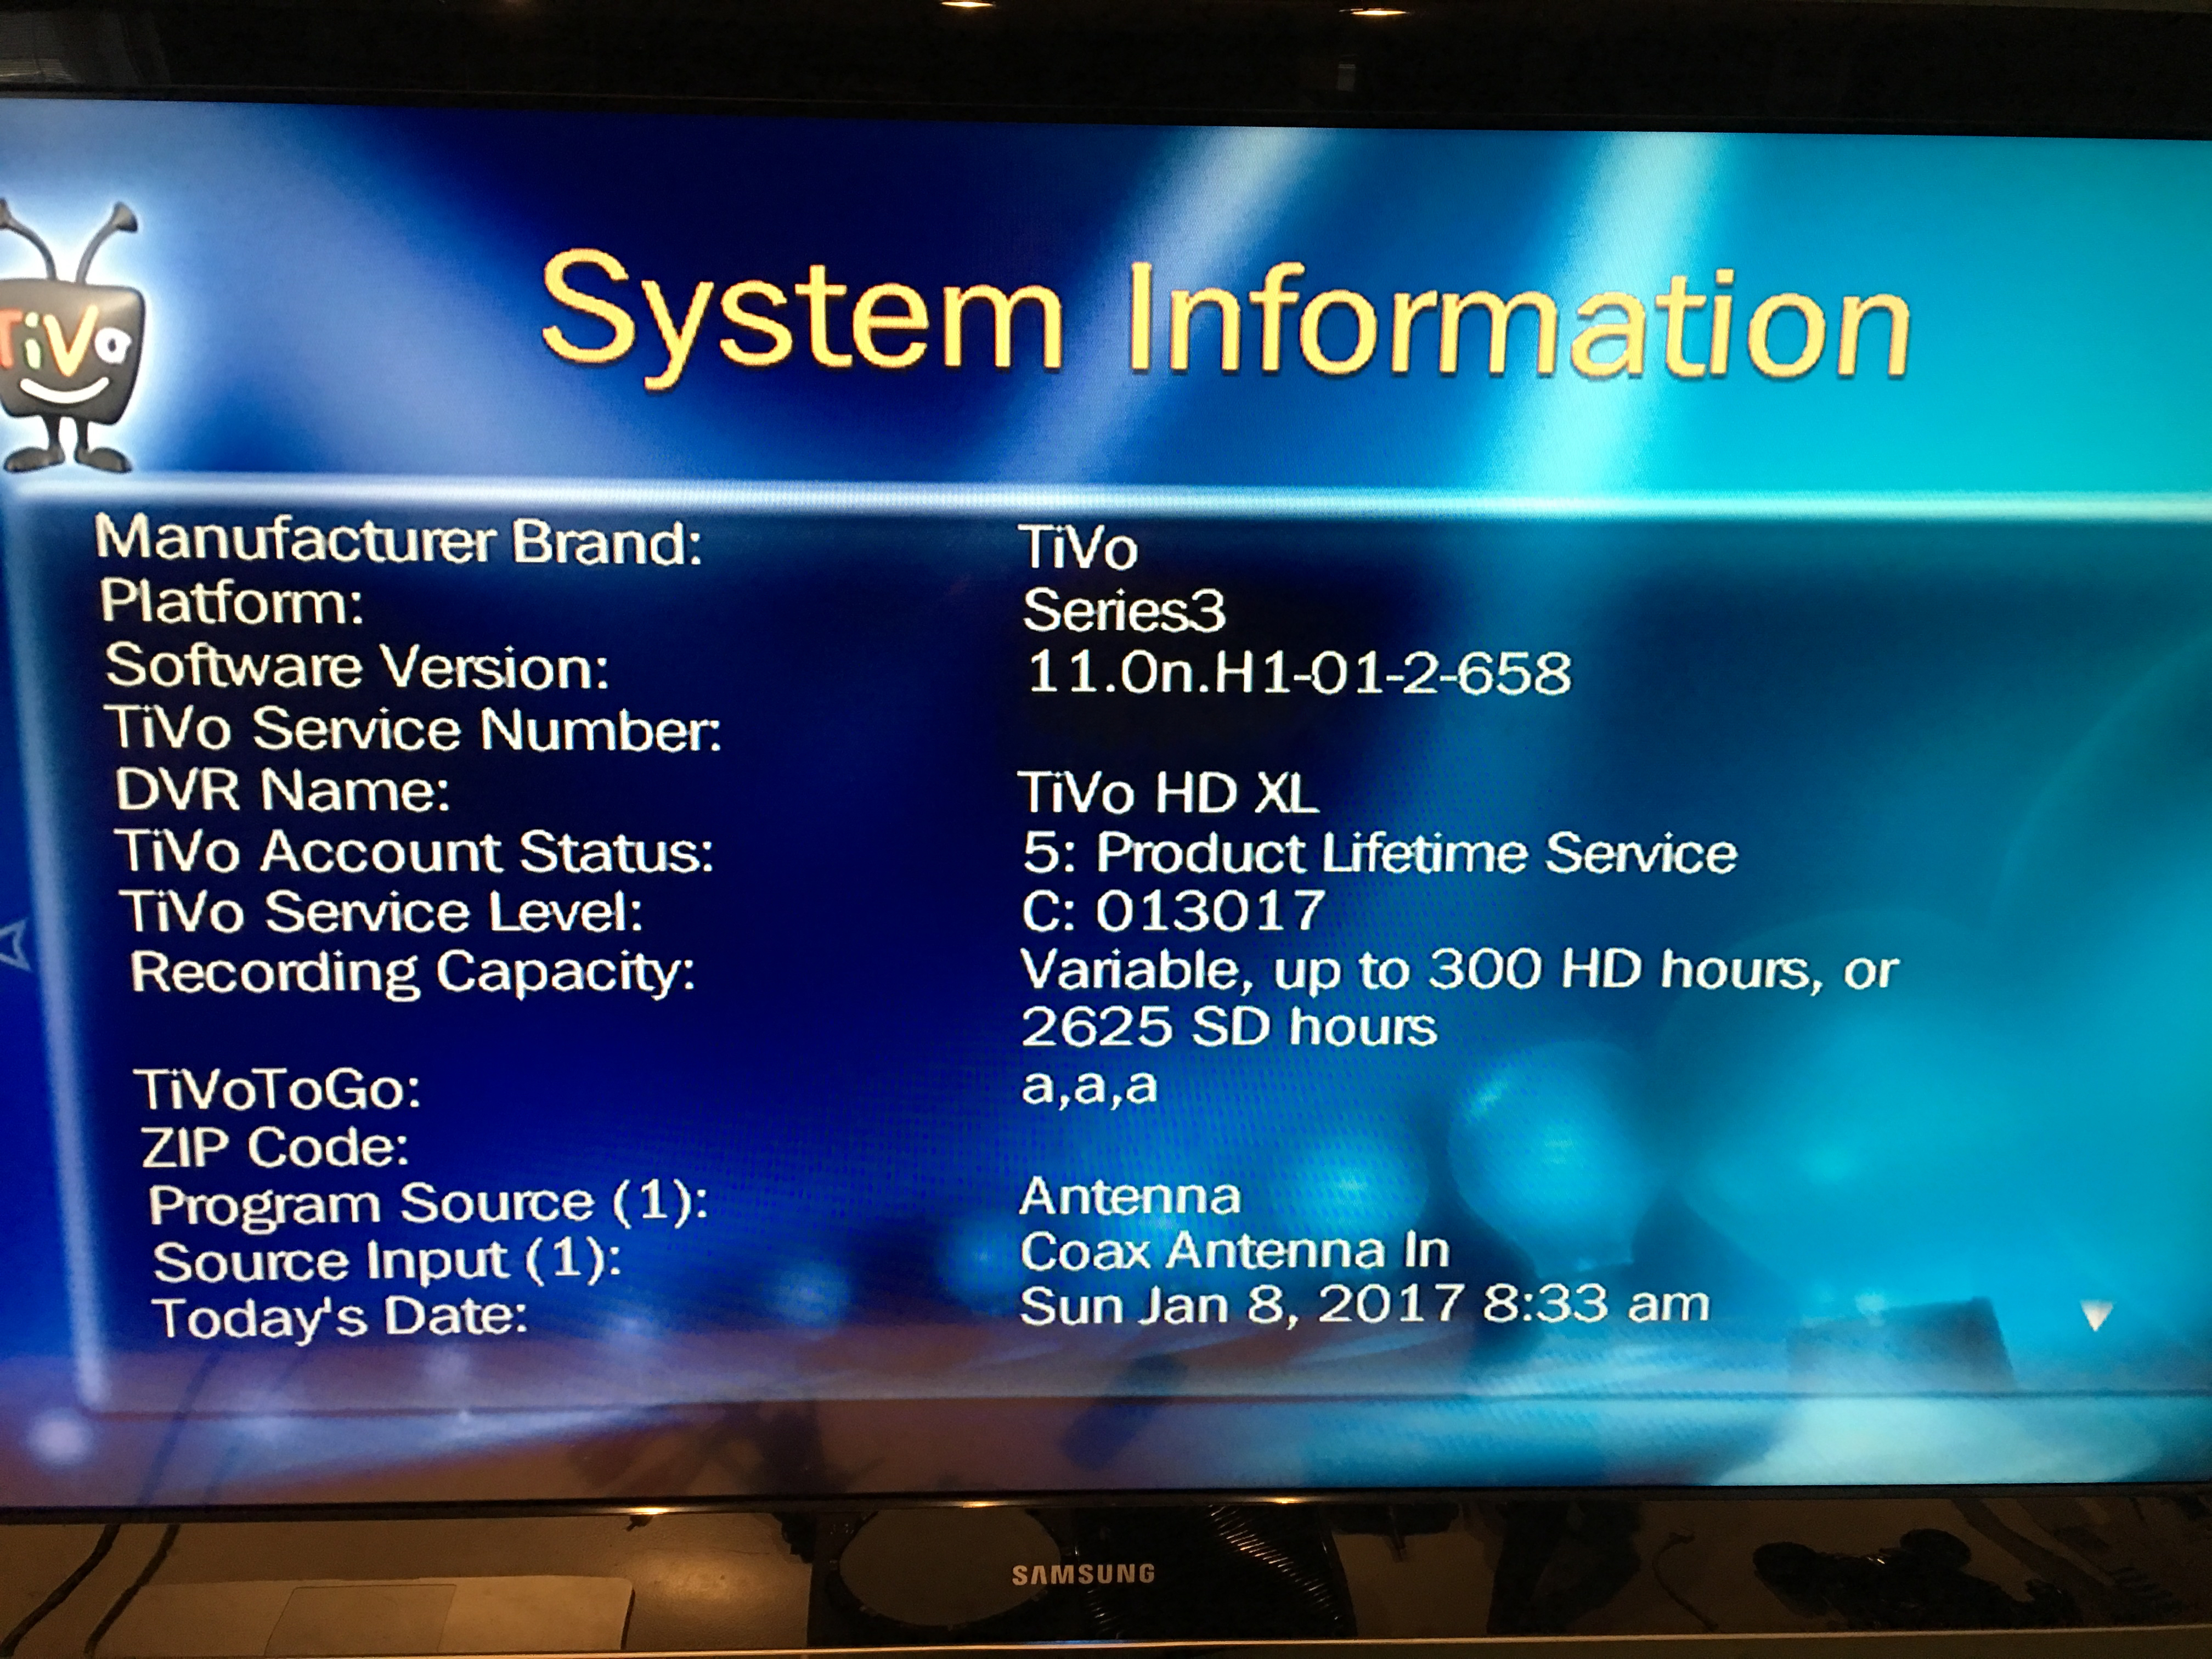
Verify Additional Space
Fire up your TiVo and if all went well, you will see your increased capacity if you go to the System Information page in the menu.
Enjoy!


You must be logged in to post a comment.