Now, I have nothing BUT time. And no excuse.

I keep a list of things I would like to eventually do (in some cases should do) and it is long. Long enough that sometimes I avoid reviewing it because all it does is stress me out and make me feel like I’m not doing enough.
But now, being stuck at home for what seems like might be forever, I decided to tackle one of those things that I knew would be a lot of work to get going, and even more to see through to the end. Something that every time I looked at it before seemed too daunting to even start.
But today, I decided to digitize all of my tape-based media into ProRes QuickTime files. Formats include DV, DVCam, HDV, Hi-8, VHS, BetacamSP and Digital Betacam. So, no small task.
The Setup
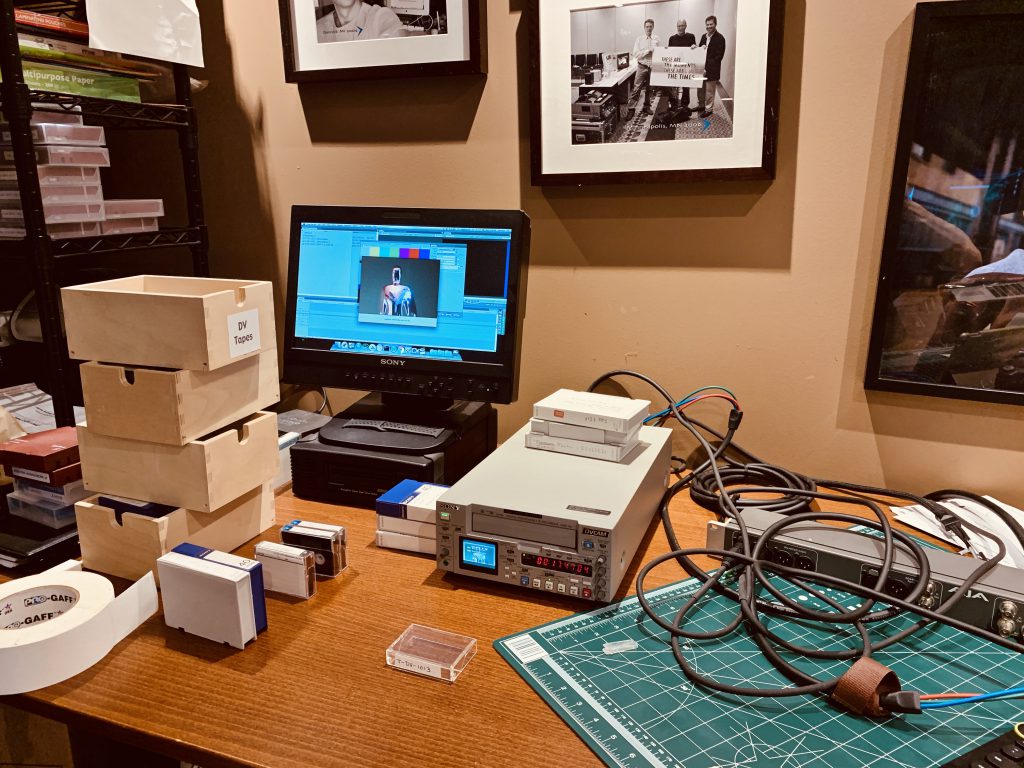
The part I have most dreaded was getting everything set up. I assumed I still had all the pieces I needed from back when I had an office and full-blown edit suite, but to be honest it’s been so long I wasn’t sure how long it would take me to find everything.
- I needed to set up the old MacPro (the original 2006 first release version).
- Install the AJA PCIe capture card (Kona LHe, long out of support).
- Install the (now) vintage drivers for the card
- Install FCP 7
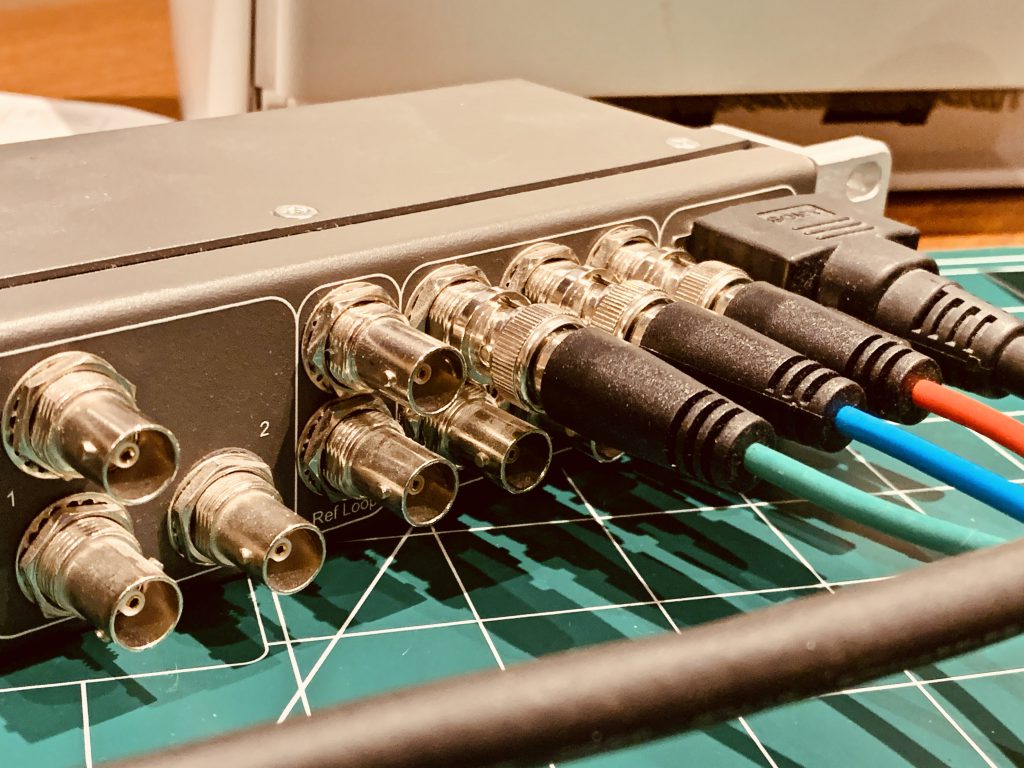
- Hook up the breakout box.
On the surface, none of this sounds difficult. But when you consider the age of all of these pieces, finding it all and getting it working again it’s not as easy as it looks.
What really helped me was that “past me” was thinking about “future me”. That doesn’t happen often but when it does I’m very proud of my past self.
I still had a MacPro with the original 10.7.5 OS installed. It also had the last version of FCP 7 installed and it was booting off an upgraded SSD.
I found the AJA capture card (A vintage Kona LHe) in another MacPro that’s used for LTO archiving and moved it to the capture machine. But the biggest challenge was finding the correct drivers for that card with the old OS.
After some serious google digging, I did find the right driver package and FCP could see the card again. Kudos to AJA for making sure that drivers can still be found, even if there’s no direct link to it on their website.
The last part was the breakout box. That’s were “past me” really knocked it out of the park. It was all bundled together in a single box with all of the cables for the breakout box, RGB cables and RS-422 cables for the decks I would be using. Awesome!
Total setup time was about 3 hours.
Tape Numbering System
I spent the next day just thinking through how I wanted to label the tapes. This had two purposes.
First, if a tape was labeled I knew it was digitized. That meant creating a new label system that would replace anything currently on the tape. Second, I wanted a tape name that had some meaning because it would end up being part of the file name once it was digitized. The name itself should communicate something.
I grabbed my notebook and just started sketching out ideas while thinking about what was most important to me.
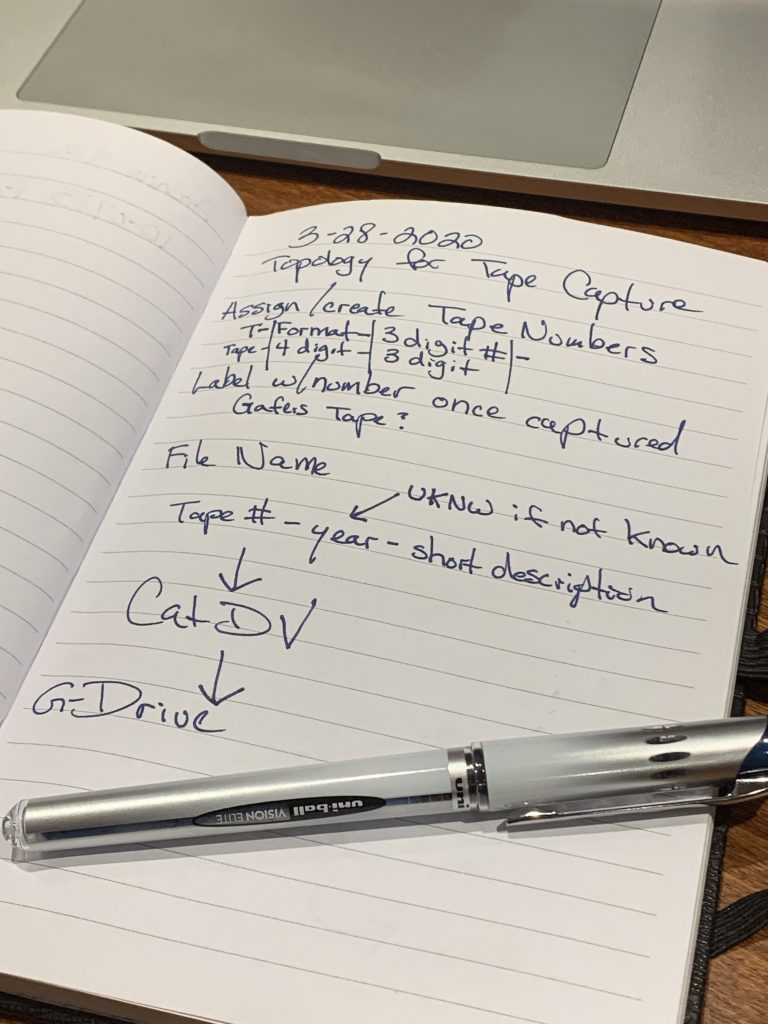

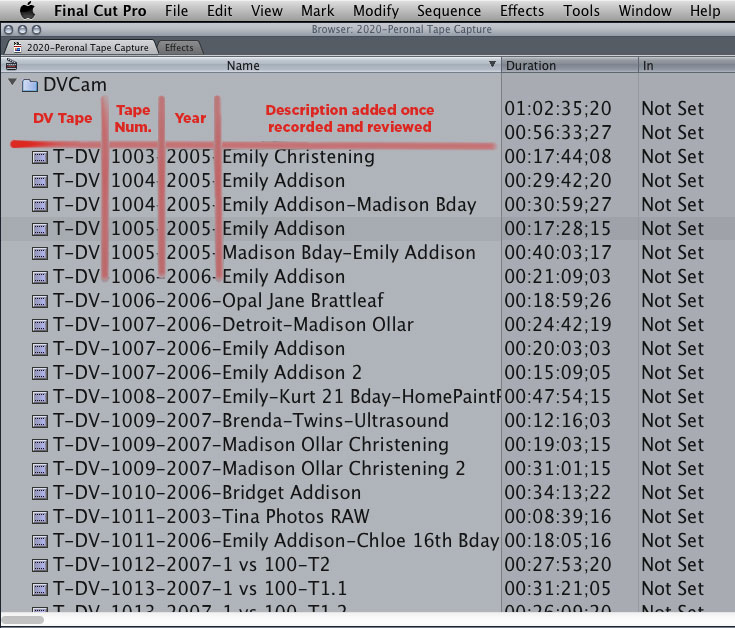
In the end, I decided I wanted a different series of numbers for the different tape formats I was going to capture. What I ended up was something like this.
T-DV-1032
- T = Tape (yes they’re all tapes, but in CatDV this will help with searches.
- DV = DV Tape, but other options are HDV, DVCM, VHS, BETA and so on.
- 2007 = 4 digit year. I think in most cases I can figure this out or get it from the current tape label, but if not I will use UKWN meaning an unknown year.

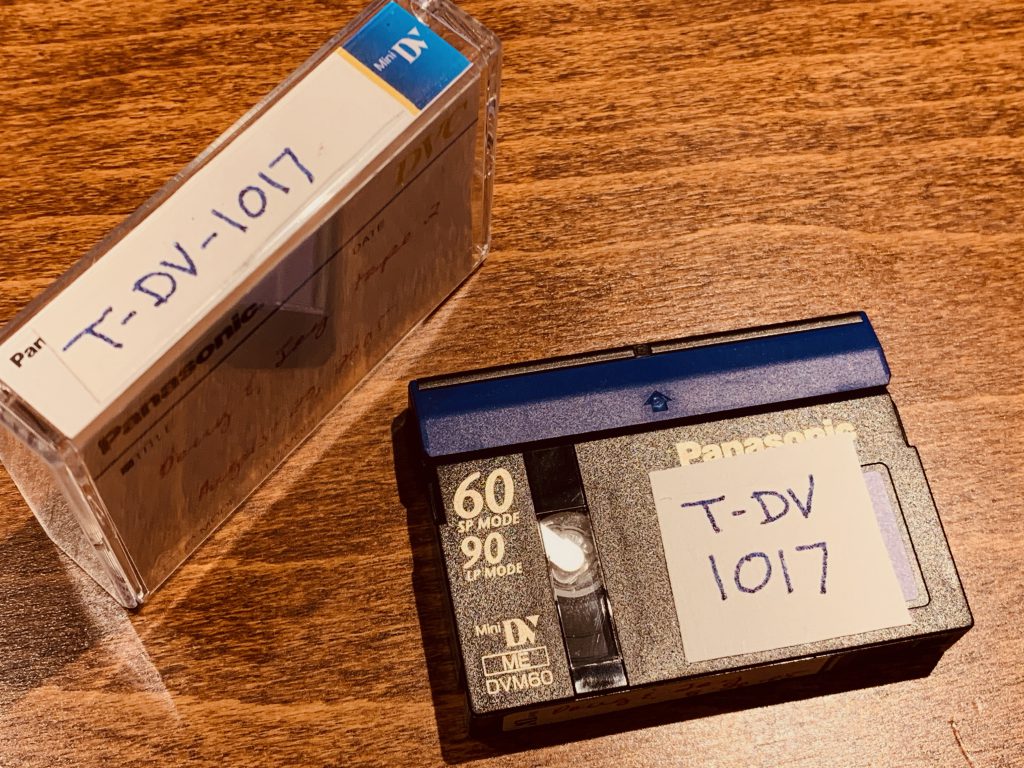
Labels
I wanted to neatly label everything but wanted to restrict myself to use whatever I already had. I could get all fancy and spend money on custom-sized labels but there’s no point. Once all of the tapes are scanned in, they’re going into a storage box on the shelf and will probably never be looked at again.
The solution I came up with was using white gaffers tape and a black marker pen.
Each tape gets one label on top, and each case gets one spine label.
I just laid out a few strips of white gaffers tape and used an Exacto knife to cut the shapes I needed.

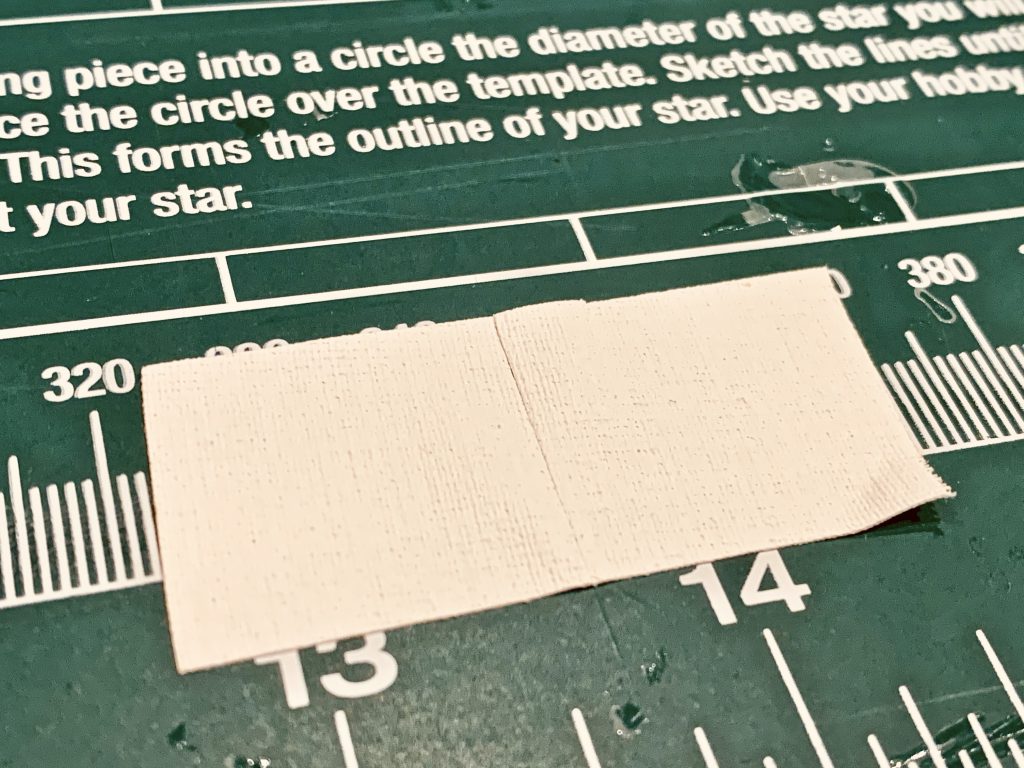
And because it’s gaffers tape, the tape sticks very well and it holds ink without it smearing. So it ended up being a great solution.
The Capturing Process

This is the first time I have used Final Cut Pro 7 in close to 10 years, but I have to say it holds up well. It was easy to remember why I liked it so much and why it did as well as it did.
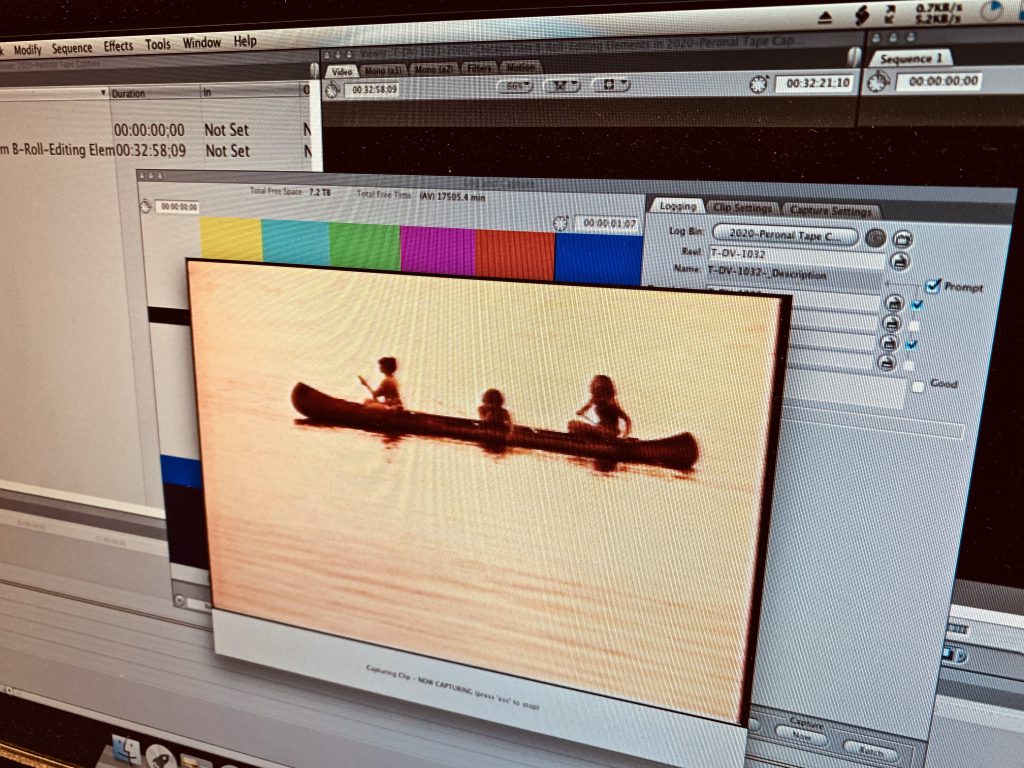
With the Kona LE hooked up and the software installed, it was just a matter of choosing the preset that captures directly to ProRes files. This ensured I would have the best quality of whatever was on the tape. It also had the added benefit to ignore any slight DV related tape problems.
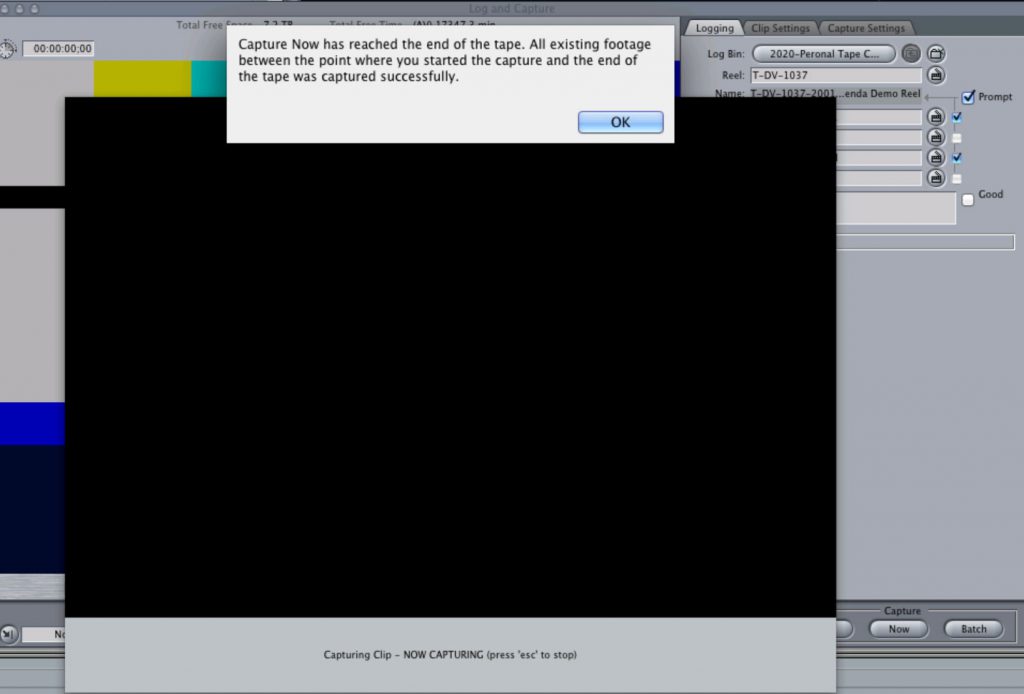
When you captured using FireWire, even very small issues with the DV signal can stop the capture. Given how old these tapes are, I suspect there are plenty of tapes that would have this issue. But when capturing through the card it records anything that plays off the tape and continues until the tape is at the end. If there’s a break in timecode, it creates a new clip automatically. With FireWire capturing if it encounters a problem it will often just stop and report an error without moving forward.
Naming the Files
I didn’t pre-screen any of the tapes. I just put them in, rewound them to the top and pressed play while also hitting capture. If there were breaks in the tape it would stop and create a new clip every time it started up again. And it would play all the way through the tape until the very end even if the last 30 minutes was blank. I like this because that made sure I would pick up anything random that was recorded.
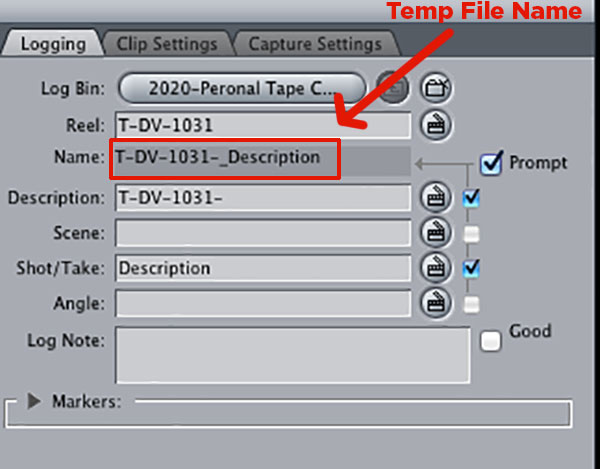
Because I didn’t pre-screen, I only did partial naming while capturing. I made sure to include the T-DV and 4-digit number, but nothing else. The idea was to capture it, and then go back and see what files were created and what was in each of the files. Once I renamed the clip, I ended up with something that looks like this.
What’s next?
All of these clips are full records of tapes. So as expected, there is often different content on different parts of the tape. The new digital clips are only useful if it’s easy to find what you want later.
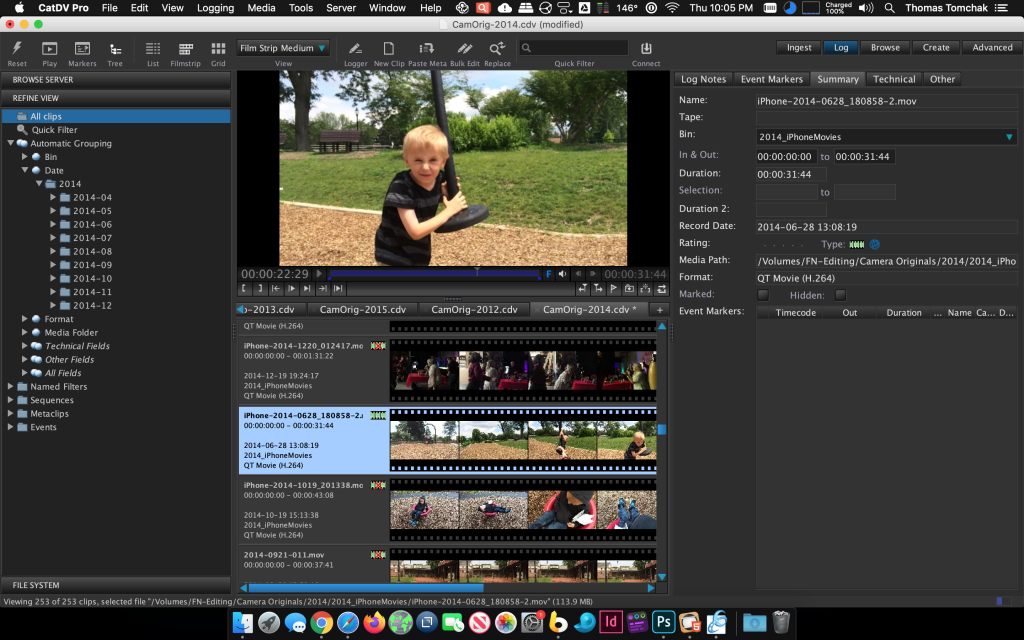
In my next post, I’ll cover how I use a program called CatDV to organize all of my video clips, not just the ones from tape. With some time spent upfront identifying everything that was on the tapes, things get interesting.
You must be logged in to post a comment.